How to Resize Passport Photo & Signature to Exactly 200x230 Pixels
Filling out online government applications, university admission forms, or professional certification portals can often feel like clearing one fiddly technical hurdle after another. And the one that trips up the most people is almost always the document upload section. You have finally managed to compress your files under the required KB limit using an image compressor, but now the portal aggressively rejects your file with a brand new red error message: "Invalid Dimensions. Photograph must be exactly 200 pixels wide and 230 pixels high."
Understanding the fundamental difference between image dimensions and image file size is absolutely crucial for any applicant. While "file size" (measured in KB or MB) refers to how much digital storage space an image takes up on a hard drive, "dimensions" (measured in pixels) dictate the physical shape and resolution of the image on a screen. If you do not provide the exact geometric shape requested by the system, the automated script assumes you are uploading an invalid, non-compliant document and blocks your submission.
The Extreme Danger of "Stretching" and "Squishing" Images
When faced with a strict pixel requirement, the biggest and most common mistake applicants make is forcing a wide, landscape-oriented photograph into a tall, portrait-oriented dimension box. For example, taking a square selfie and just typing "200" for width and "230" for height into a basic, low-quality image resizer.
If you do this without maintaining the original aspect ratio, the software physically crushes the pixels together. Your face will suddenly look unnaturally squished, elongated, or stretched out. This unnatural, warped appearance is a primary reason for application rejection during the manual verification phase, as officials cannot accurately match the stretched photo to your actual face during the exam or interview.
The Professional 2-Step Method: Crop First, Then Resize
To get a perfect, natural-looking photo at the exact, mathematically precise dimensions required by the portal, you must combine two distinct digital tools: cropping and resizing. You cannot skip one for the other. Here is the professional, foolproof way to do it using GoPDFGo's suite of privacy-first image tools.
Step 1: Crop the Image to the Correct Proportions
Before you force a specific size in pixels, you need to establish the correct overall shape (the aspect ratio). A 200x230 pixel requirement means the image needs to be slightly taller than it is wide—a vertical rectangle.
- Navigate to the Crop Image tool on your browser.
- Upload your raw, original high-resolution photo.
- Carefully adjust the cropping box overlay so it focuses tightly on your face and upper shoulders (for a standard passport photo). Ensure your face is centered.
- Make sure the shape of the cropping box resembles a vertical rectangle (for photos) or a wide, short rectangle (if you are cropping a signature). Leave a little bit of white space around the edges.
- Click apply and save this perfectly cropped, proportional image to your device.
Step 2: Resize the Cropped Image to Exact Pixels
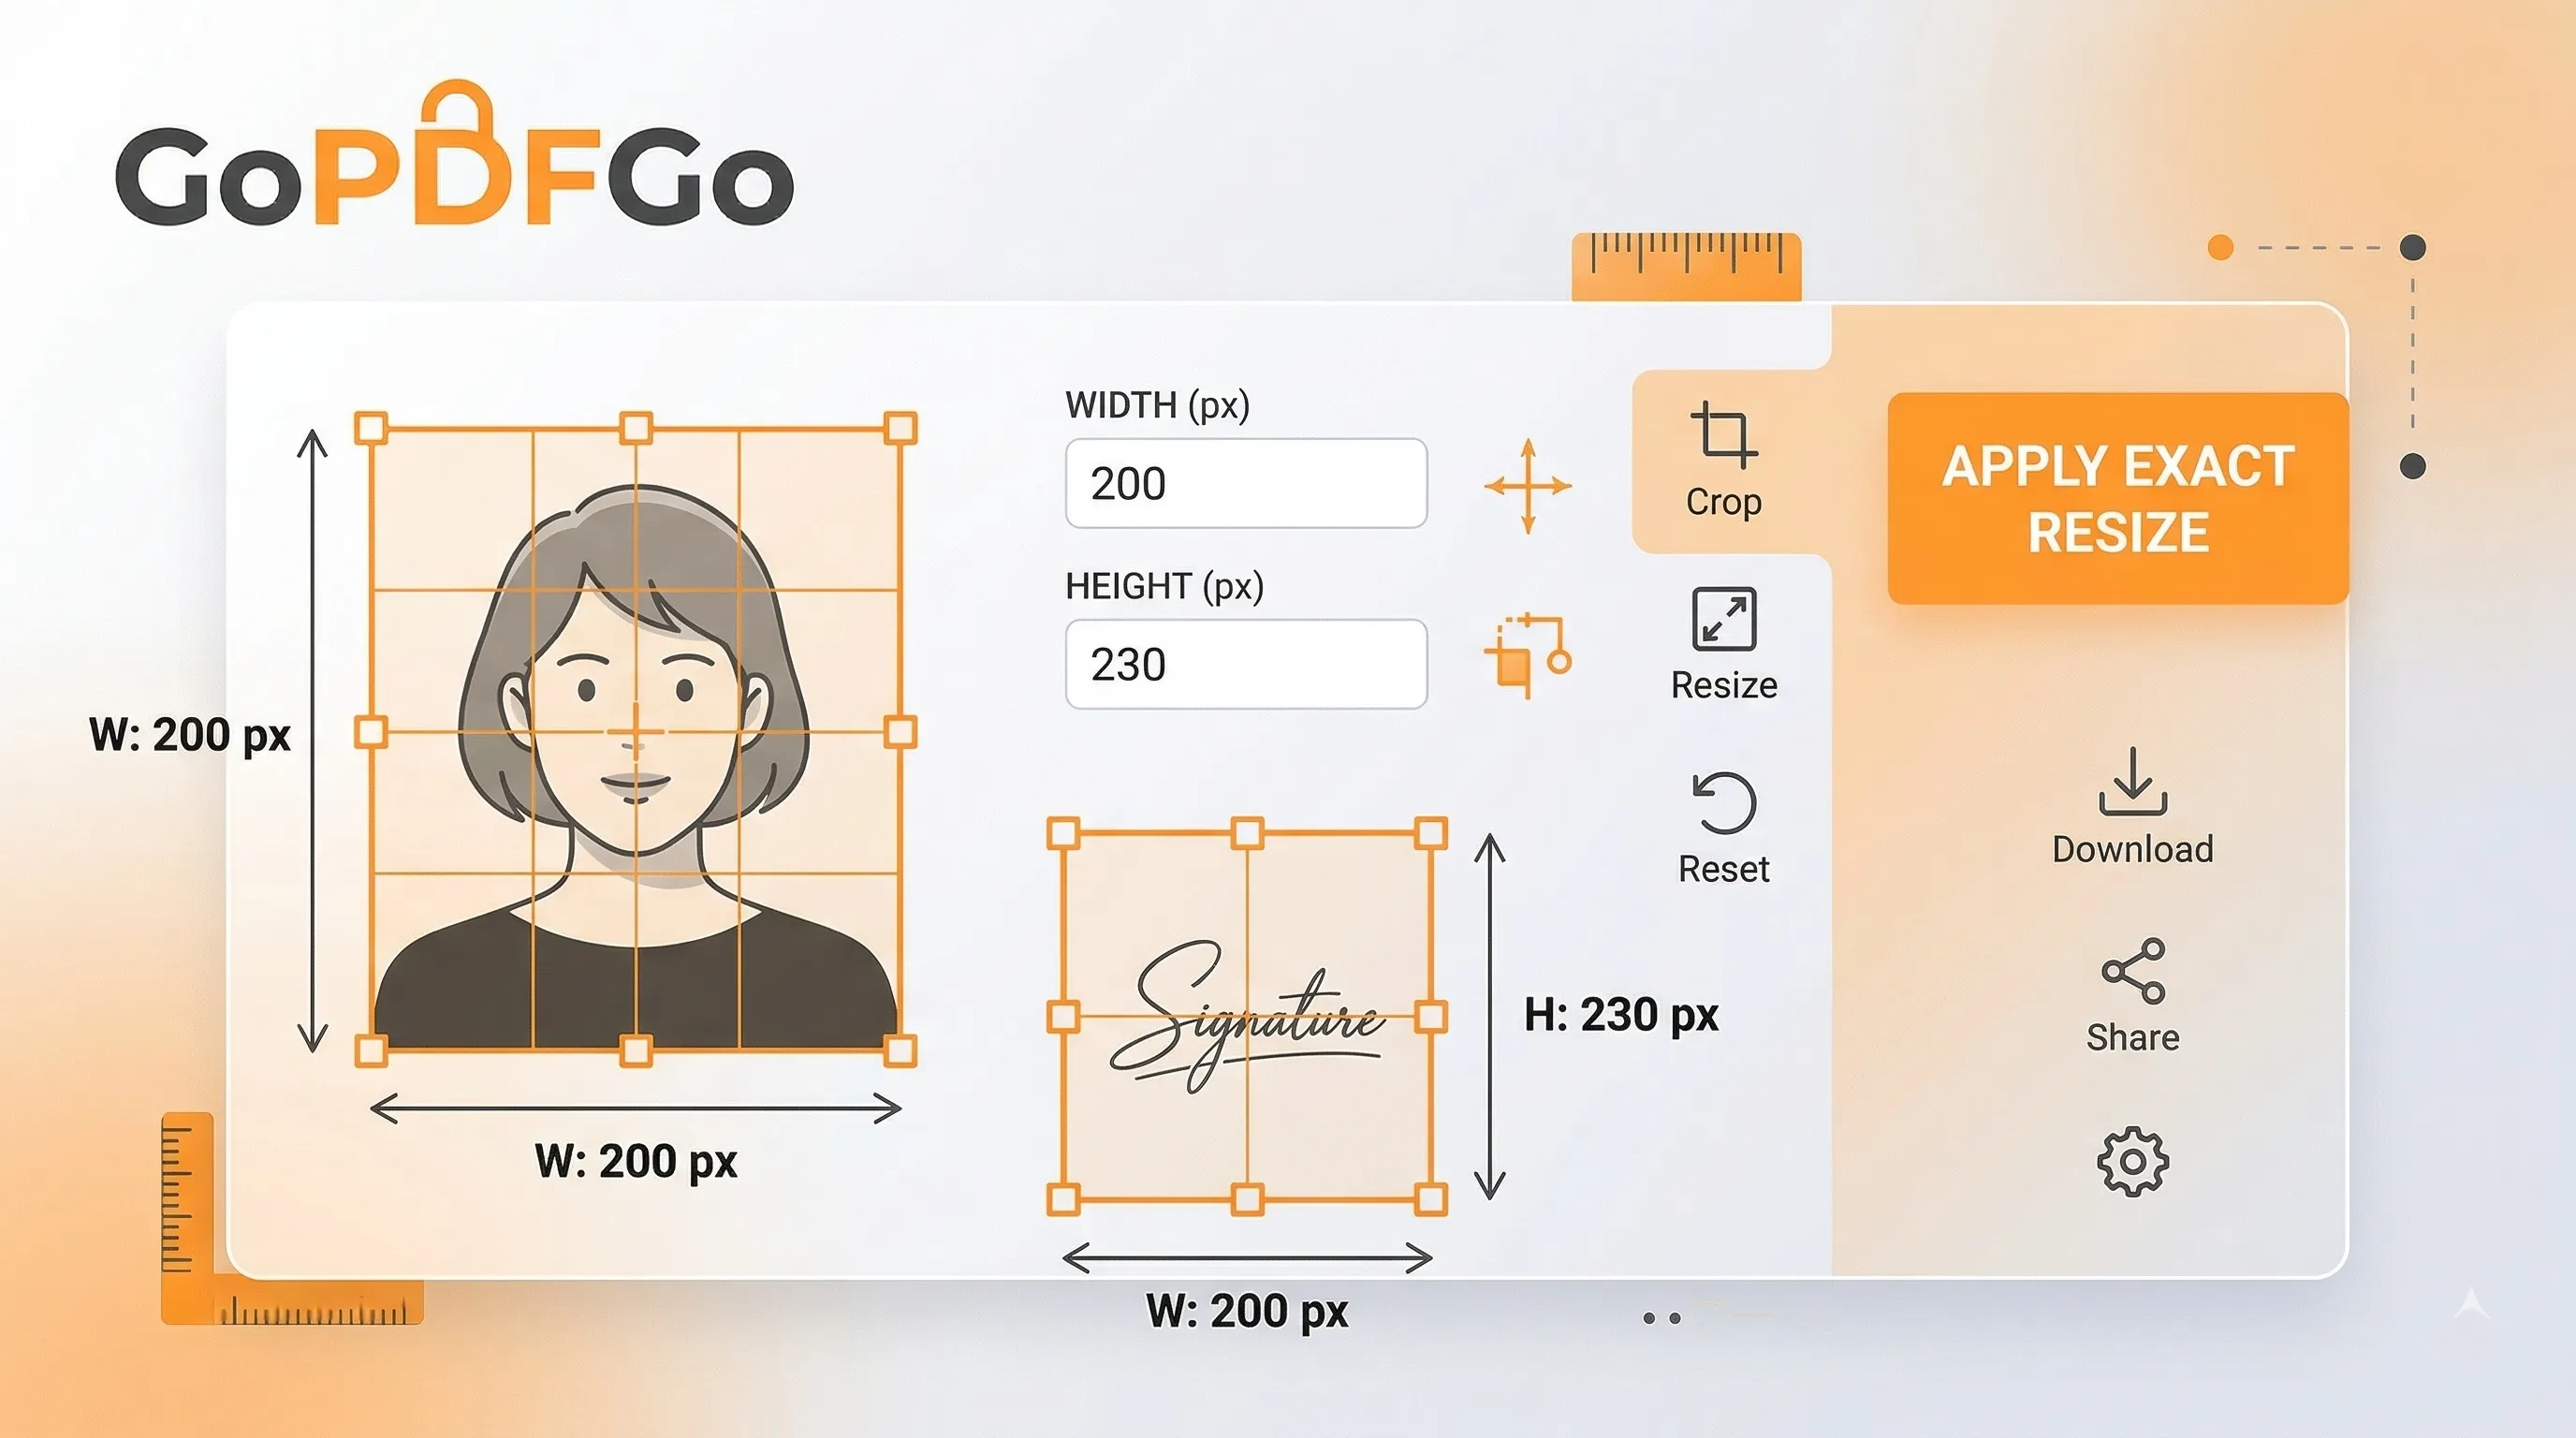
Now that you have isolated the right shape and removed the messy background, you can safely dictate the exact pixel count without warping your face.
- Navigate to the Resize Image tool on GoPDFGo.
- Upload the newly cropped image you just saved in Step 1.
- Look for the input boxes for Width and Height. Enter the exact width (e.g., 200) and the exact height (e.g., 230) required by the portal's notification PDF.
- Leave the lock icon or "Maintain Aspect Ratio" checkbox switched ON. Because you already cropped to the right 200:230 shape in Step 1, the width and height now scale down together with no stretching. Type 200 for the width and the tool fills in 230 for the height on its own (or the other way around). If unlocking the ratio is the only way to land both exact numbers, your crop was slightly off the 200:230 shape, so go back to Step 1 and re-crop rather than squashing the photo here.
- Click resize and download your perfectly dimensioned, compliance-ready image.
The Final Sanity Check: Confirming the File Size
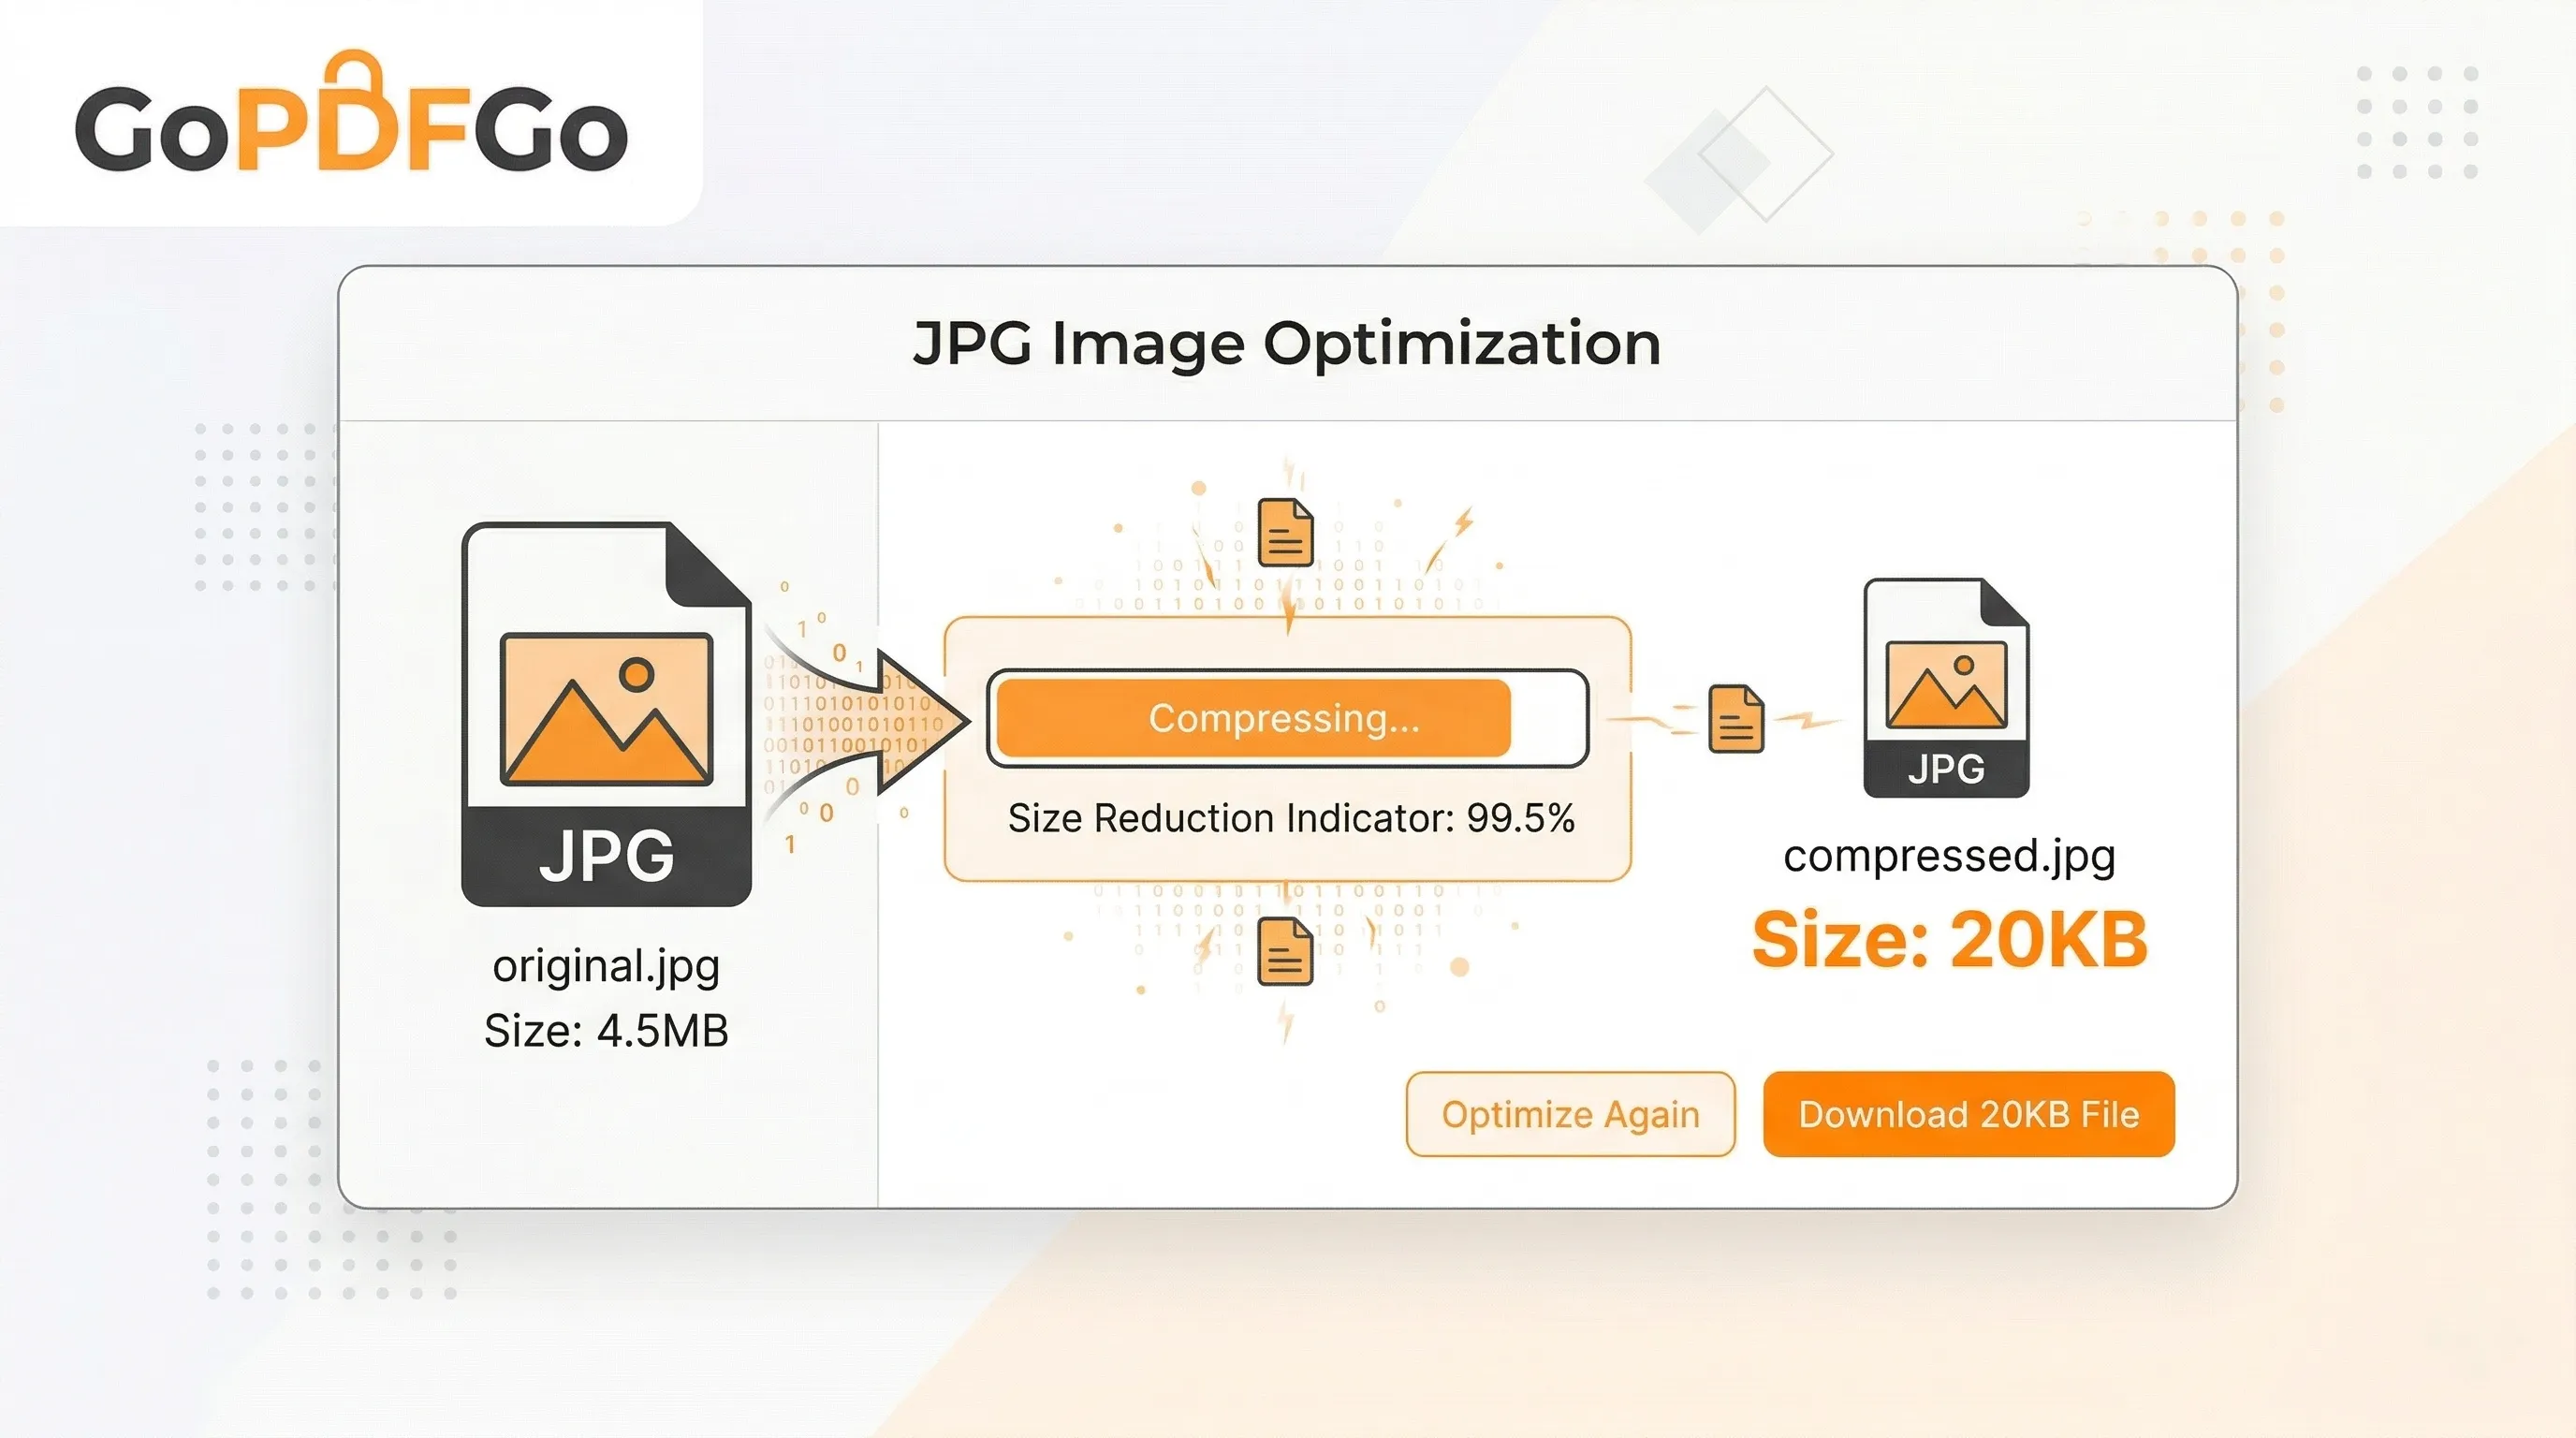
Resizing an image to smaller dimensions usually reduces its overall file size naturally, as there are fewer pixels to store. However, if the recruitment portal has a strict 20KB maximum weight limit and your new mathematically perfect 200x230 image is somehow sitting at 28KB, do not panic.
Simply take that final image and run it quickly through our Compress JPG tool. You can shave off those last few stubborn kilobytes by lowering the quality slider slightly, all while retaining the exact 200x230 dimensions you worked so hard to create.
By taking the extra two minutes to professionally crop before you resize, you guarantee that your application looks sharp, accurate, and completely verifiable by government authorities. Master this digital skill once, and you will never struggle with an online application form again.
Frequently Asked Questions
Q: How do I resize a photo to exactly 200x230 pixels?
A: Open the Resize Image tool, turn off aspect-lock if the form needs an exact size, and type 200 for width and 230 for height.
Q: What is the usual size for a signature?
A: Many exam forms ask for a signature around 140x60 pixels, but the exact size is always listed in your official notification, so check that first.
Q: After resizing, how do I get the photo under the KB limit?
A: Send the resized image to the Compress JPG tool and use Target Size (KB) mode to bring it under 20KB or 50KB as required.
Q: Will resizing distort my photo?
A: Not if you use the right numbers. Keep aspect-lock on for proportional resizing, or turn it off only when the form demands exact width and height.