How to Organize and Merge Documents for Online Visa Applications
Planning an international trip is exciting, right up until the moment you have to apply for the visa. Today, almost every embassy portal (like VFS Global or TLScontact) forces you to upload your entire life's history digitally. And they usually give you just one upload button for everything.
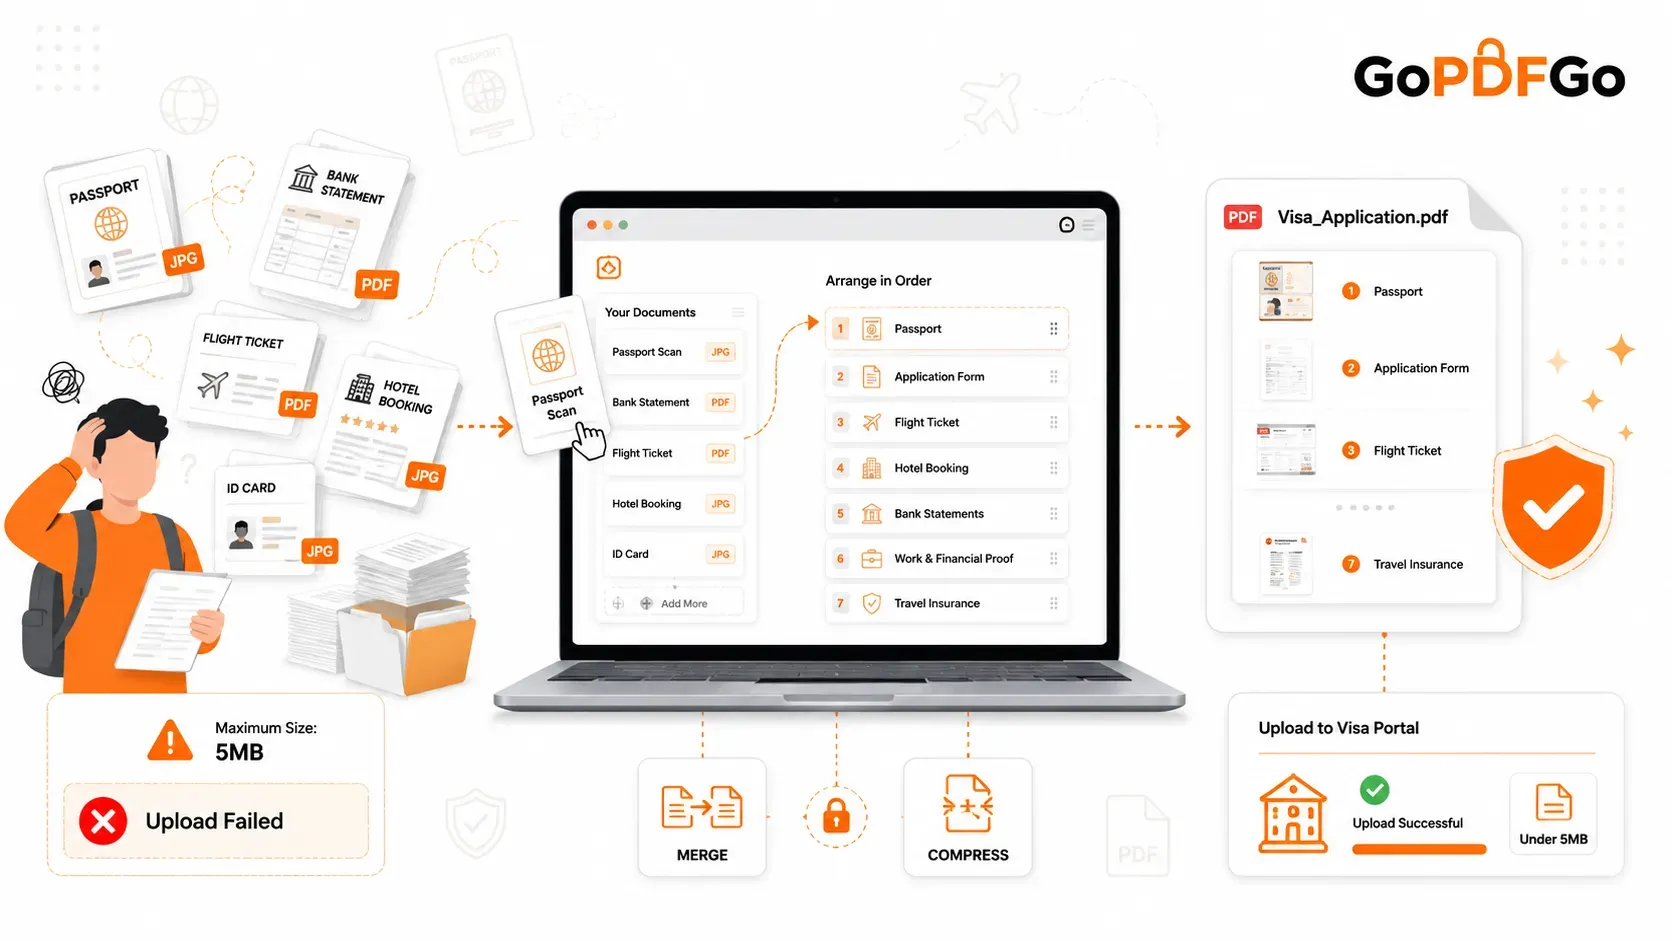
You sit there staring at 15 different files: your passport scan, hotel bookings, flight tickets, and bank statements. The portal says: "Upload all supporting documents in a single PDF. Maximum size: 5MB."
If you don't follow these exact rules, your application gets delayed or rejected. Let's look at the absolute best way to organize your files and safely combine them without sending your private financial data to random websites.
The Major Mistake: Uploading Bank Details Online
Think about what is inside your visa file. It has your passport number, your exact date of birth, six months of banking history, your salary, and your home address. It is basically an identity thief's dream package.
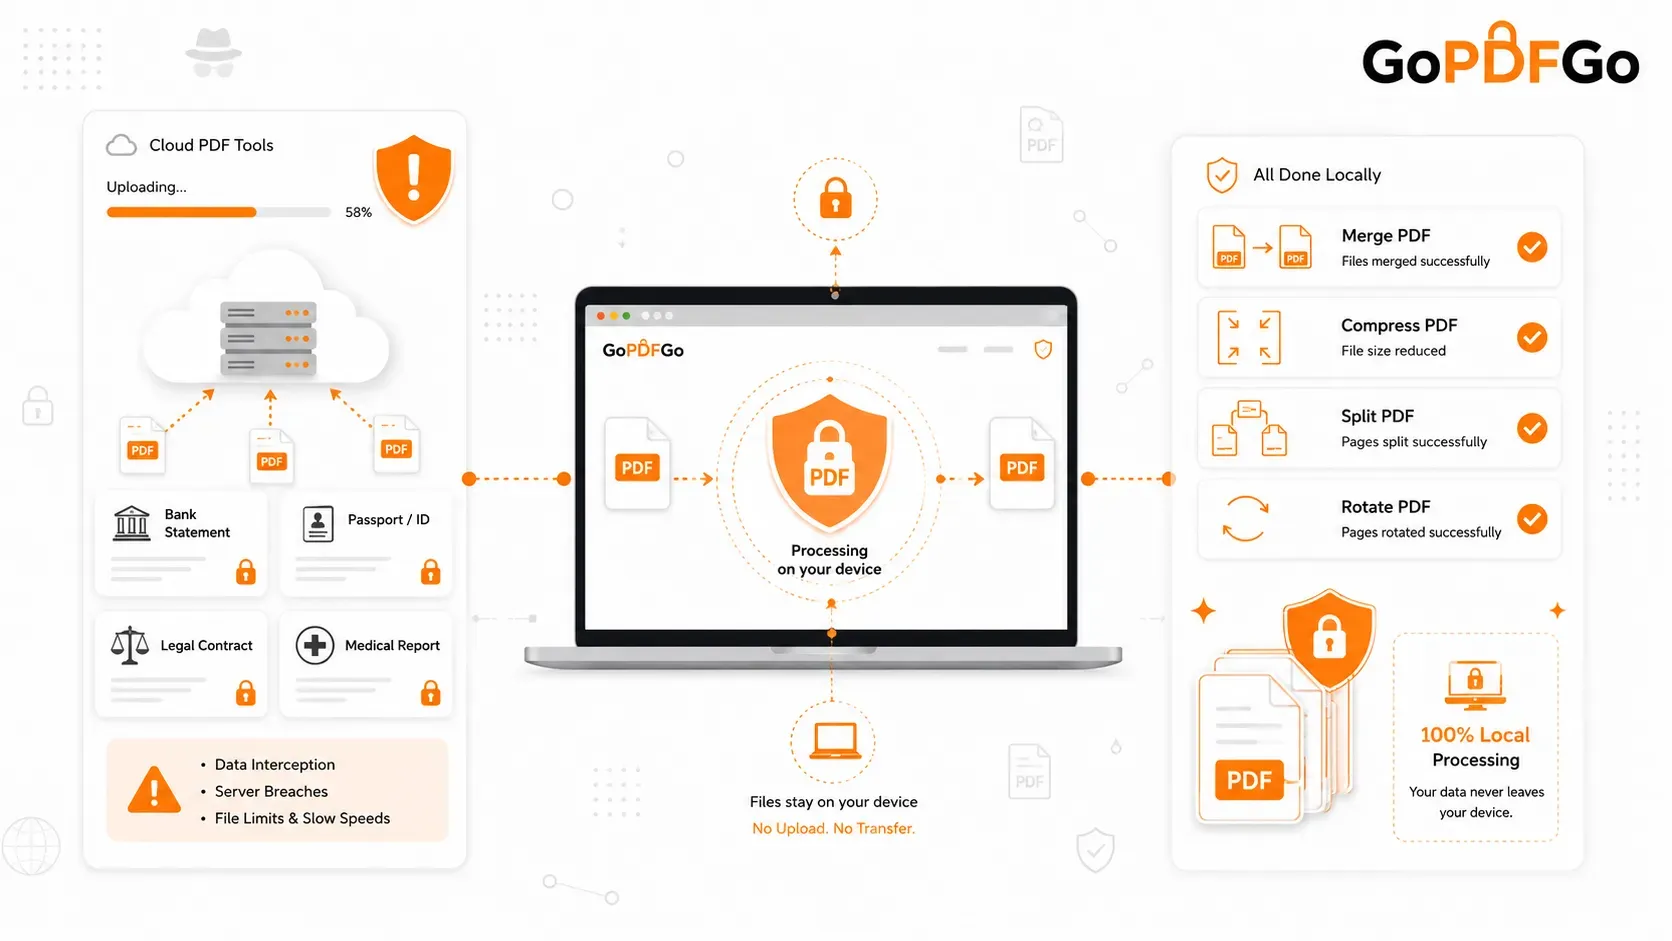
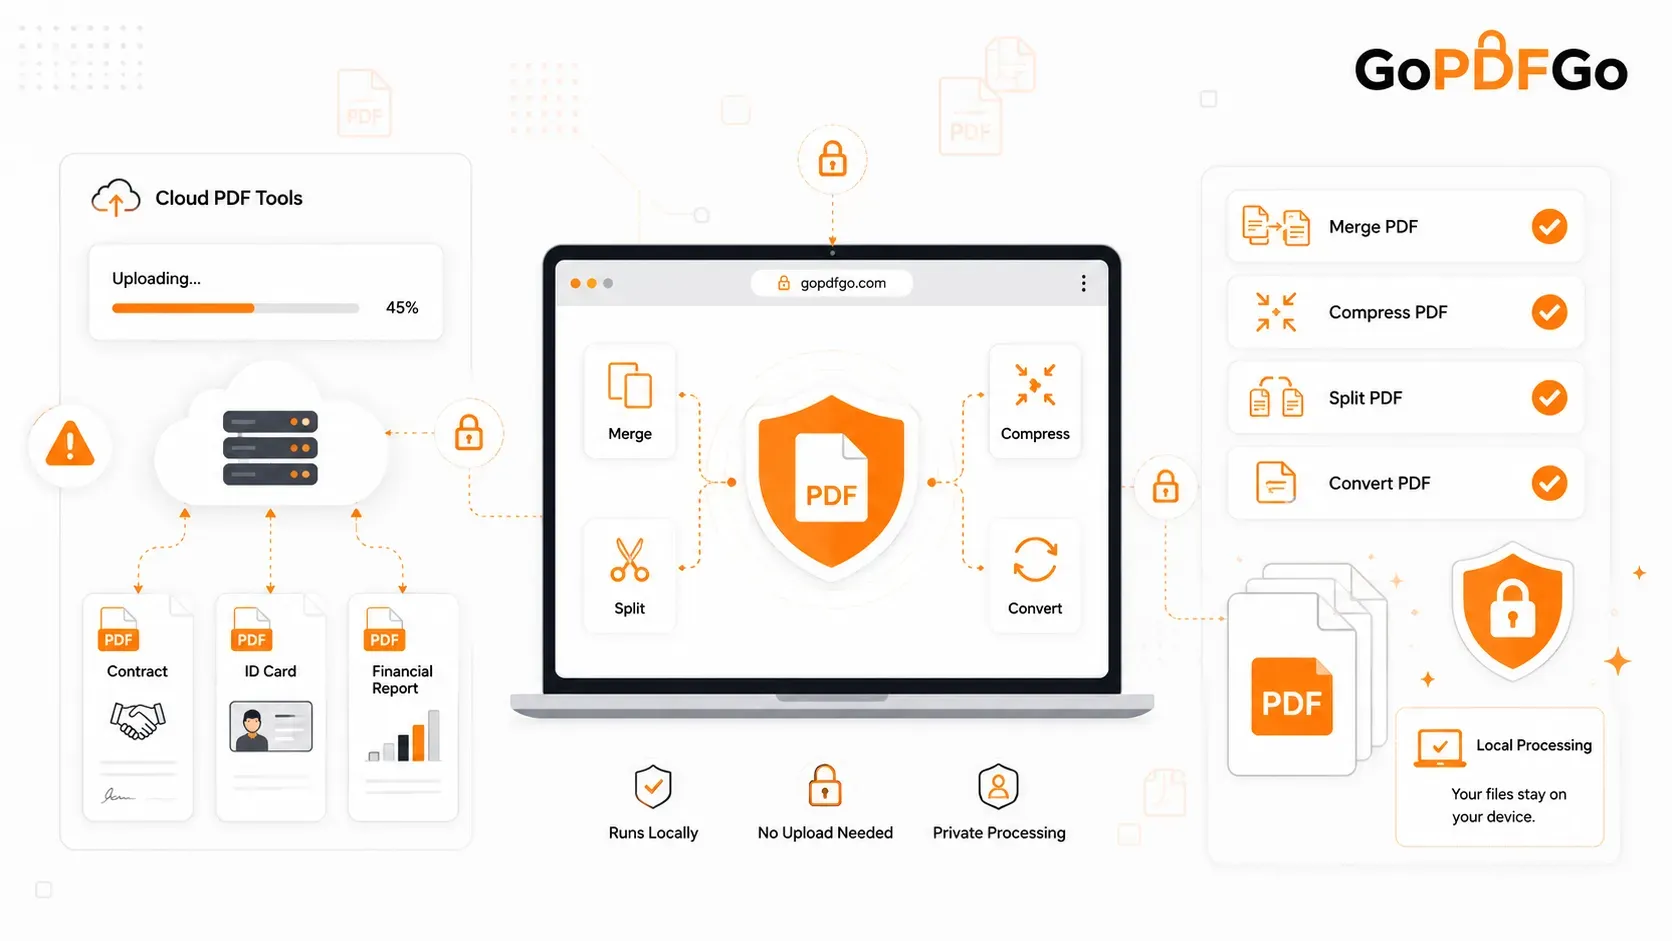
When people get stressed out trying to combine these files, they Google a free tool and blindly upload this massive packet of secrets to a third-party server. By doing this, you are sending your financial life across the internet. Even if the website looks safe, their servers could get hacked tomorrow.
Instead of doing that, you should handle your documents privately. This means using technology where your browser does the editing directly, and your files stay on your device the entire time.
The "Golden Order" for Visa Documents
Visa officers are busy. They review hundreds of applications daily. If they have to scroll up and down endlessly to find your return flight ticket, they get annoyed. Make their job easy by arranging your pages in this specific order:
- Main Identity: Passport bio-page (front and back).
- Forms: The signed application form and appointment receipt.
- Travel Plans: Confirmed round-trip flight tickets.
- Stay Proof: Hotel bookings or Airbnb receipts.
- Money Proof: 6 months of bank statements, followed by your Tax Returns (ITR).
- Work Proof: Leave approval letter from your boss and 3 months of payslips.
- Insurance: Travel medical insurance policy.
Step-by-Step: Combine Everything Safely
Once you have all your files downloaded into a single folder on your laptop, here is how you build the final master file with zero-upload editing:
- Step 1: Check File Formats. If you took photos of some documents with your phone, they are probably JPGs. Convert them to PDF first with our Image to PDF tool, since you cannot mix loose images and documents easily on embassy portals.
- Step 2: Unlock Your Bank Statements. Banks send statements with a password (usually your name and DOB). You cannot combine locked files, so remove the password first with our Unlock PDF tool — you just enter the password you already know and get a clean, openable copy back.
- Step 3: Arrange and Join. Open a safe file combiner that works in your browser. Drag all your files in; because the site works offline, they load instantly. Drag the boxes around until they match the Golden Order above.
- Step 4: Reduce the File Weight. If your final joined file is 15MB, the embassy portal will reject it. Use a private optimization tool to shrink it below 5MB so it uploads smoothly.
Frequently Asked Questions (FAQ)
Q: Should I merge family passports together or keep them separate?
A: Always keep them separate unless the portal specifically asks for a "Family Application File." Each applicant usually needs their own distinct profile and their own individual PDF containing just their documents.
Q: Will the embassy portal reject grayscale (black and white) scans?
A: For financial documents like bank statements and tax returns, grayscale is perfectly fine and helps reduce file size. However, your passport bio-page and the visa application photos MUST be scanned in full color.
Q: How do I handle double-sided documents like National ID cards?
A: Don't put the front on page 1 and the back on page 2. Place both the front and back of the ID card onto a single page side-by-side. You can do this easily with our Combine Images tool — drop both photos onto one A4 sheet, download the single image, then convert it with Image to PDF (Step 1 above) before joining it with the rest.
Q: Is a 5MB limit normal for all embassy websites?
A: 5MB is a common ceiling on major portals like Schengen/VFS, though some are stricter — US CEAC, for example, allows only around 2MB per file. Some older government websites are even stricter, limiting uploads to just 2MB, which requires heavy compression.
Name Your Files Like the Consulate Asked, Not Like Your Phone Did
Here is a detail almost everyone misses. Several consulates don't just want one merged PDF, they want it named a certain way. The German and French Schengen centres are famous for this. They'll ask for something like SURNAME_GIVENNAME_PASSPORTNO.pdf in capital letters, no spaces, no brackets. Your phone, meanwhile, saves everything as WhatsApp Image 2026-06-19 at 9.14.21 PM.jpeg. Upload that and an officer skimming a folder of 300 files has no idea whose document it is.
So before you join anything, rename the source scans on your laptop. A pattern that works for me: number them in upload order, like 01_Passport, 02_Form, 03_Flights, and so on. When you drag them into a browser-based file combiner, the boxes line up in the right sequence automatically and you barely have to rearrange anything. If you do need to nudge one page, our page rearranger lets you shuffle the order of an already-built PDF without rebuilding it from scratch.
One more thing: avoid Hindi or regional characters and emojis in the filename. Some embassy upload systems are old and choke on anything that isn't plain English letters and underscores. A safe filename has never been rejected. A creative one sometimes has.
Bundling Financial Proof So It Actually Reads as Proof
Money is the part of a visa file officers scrutinise hardest, and it's where most people dump files in a random heap. Don't. The story your finances tell should read top to bottom. Put your six months of bank statements first, oldest month on top, newest at the bottom, so the officer watches a healthy balance build up rather than jumping around. Right after that, slot in your ITR acknowledgement from the Income Tax portal, then three months of salary slips, then any FD or mutual fund proof.
Bank statements from SBI or HDFC almost always arrive as password-locked PDFs (usually your name plus date of birth, or your customer ID). You can't merge a locked file, so strip the password with our Unlock PDF tool first using the password you already know. And if a statement came as a printout you photographed, run those photos through Image to PDF before joining, because mixing a loose JPG into a documents-only upload slot is a quiet way to get flagged.
A small but real tip: financial pages can be scanned in grayscale to save weight without hurting credibility. Save the colour for your passport and photo, where the officer genuinely needs to see detail.
One Master File Per Requirement, Not Everything in One Blob
This trips up a lot of first-timers. When a portal lists separate upload slots, "Financial Documents", "Travel Itinerary", "Accommodation", do not cram all of it into a single giant PDF and upload the same blob to every slot. Build one tidy master PDF per requirement. Bank stuff goes in the financial file, hotel confirmations go in the accommodation file, and so on. Officers reviewing the "Accommodation" tab expect to see hotel bookings there, not your tax returns buried on page 14.
The exception is when the portal explicitly says "upload all supporting documents as one PDF". Then, and only then, you merge everything into a single file in the Golden Order. Read the instruction line twice before you decide which approach the portal wants.
The Mistakes That Get a File Sent Back
A returned application costs you weeks, and sometimes the appointment slot is gone for a month. Most rejections at the document stage aren't about content, they're about avoidable handling errors:
- Pages upside down or sideways. A phone scan of a landscape bank statement often saves rotated. Fix it permanently with Rotate PDF before merging, because a viewer's temporary rotate won't stick once the file is uploaded.
- The file is over the limit. Schengen VFS caps most uploads at 5MB and some older government portals at 2MB. If your master file is 14MB, it gets rejected before a human even sees it. Shrink it with our PDF compressor first.
- Duplicate or stale pages. An old appointment letter or a draft form slipped into the merge. Strip them out cleanly with Delete PDF Pages so only the final versions remain.
- Missing a page of a multi-page document. Forgetting the back of the bio-page or the second page of a flight PNR is one of the most common reasons a file comes back. Count your pages against the checklist before you hit submit.
None of these are hard. They just need you to actually look at the finished PDF page by page before uploading, the same way the officer is about to.
Don't let a simple tech issue ruin your vacation plans. Organize your files properly, process them safely without uploading them to the cloud, and get that visa approved!