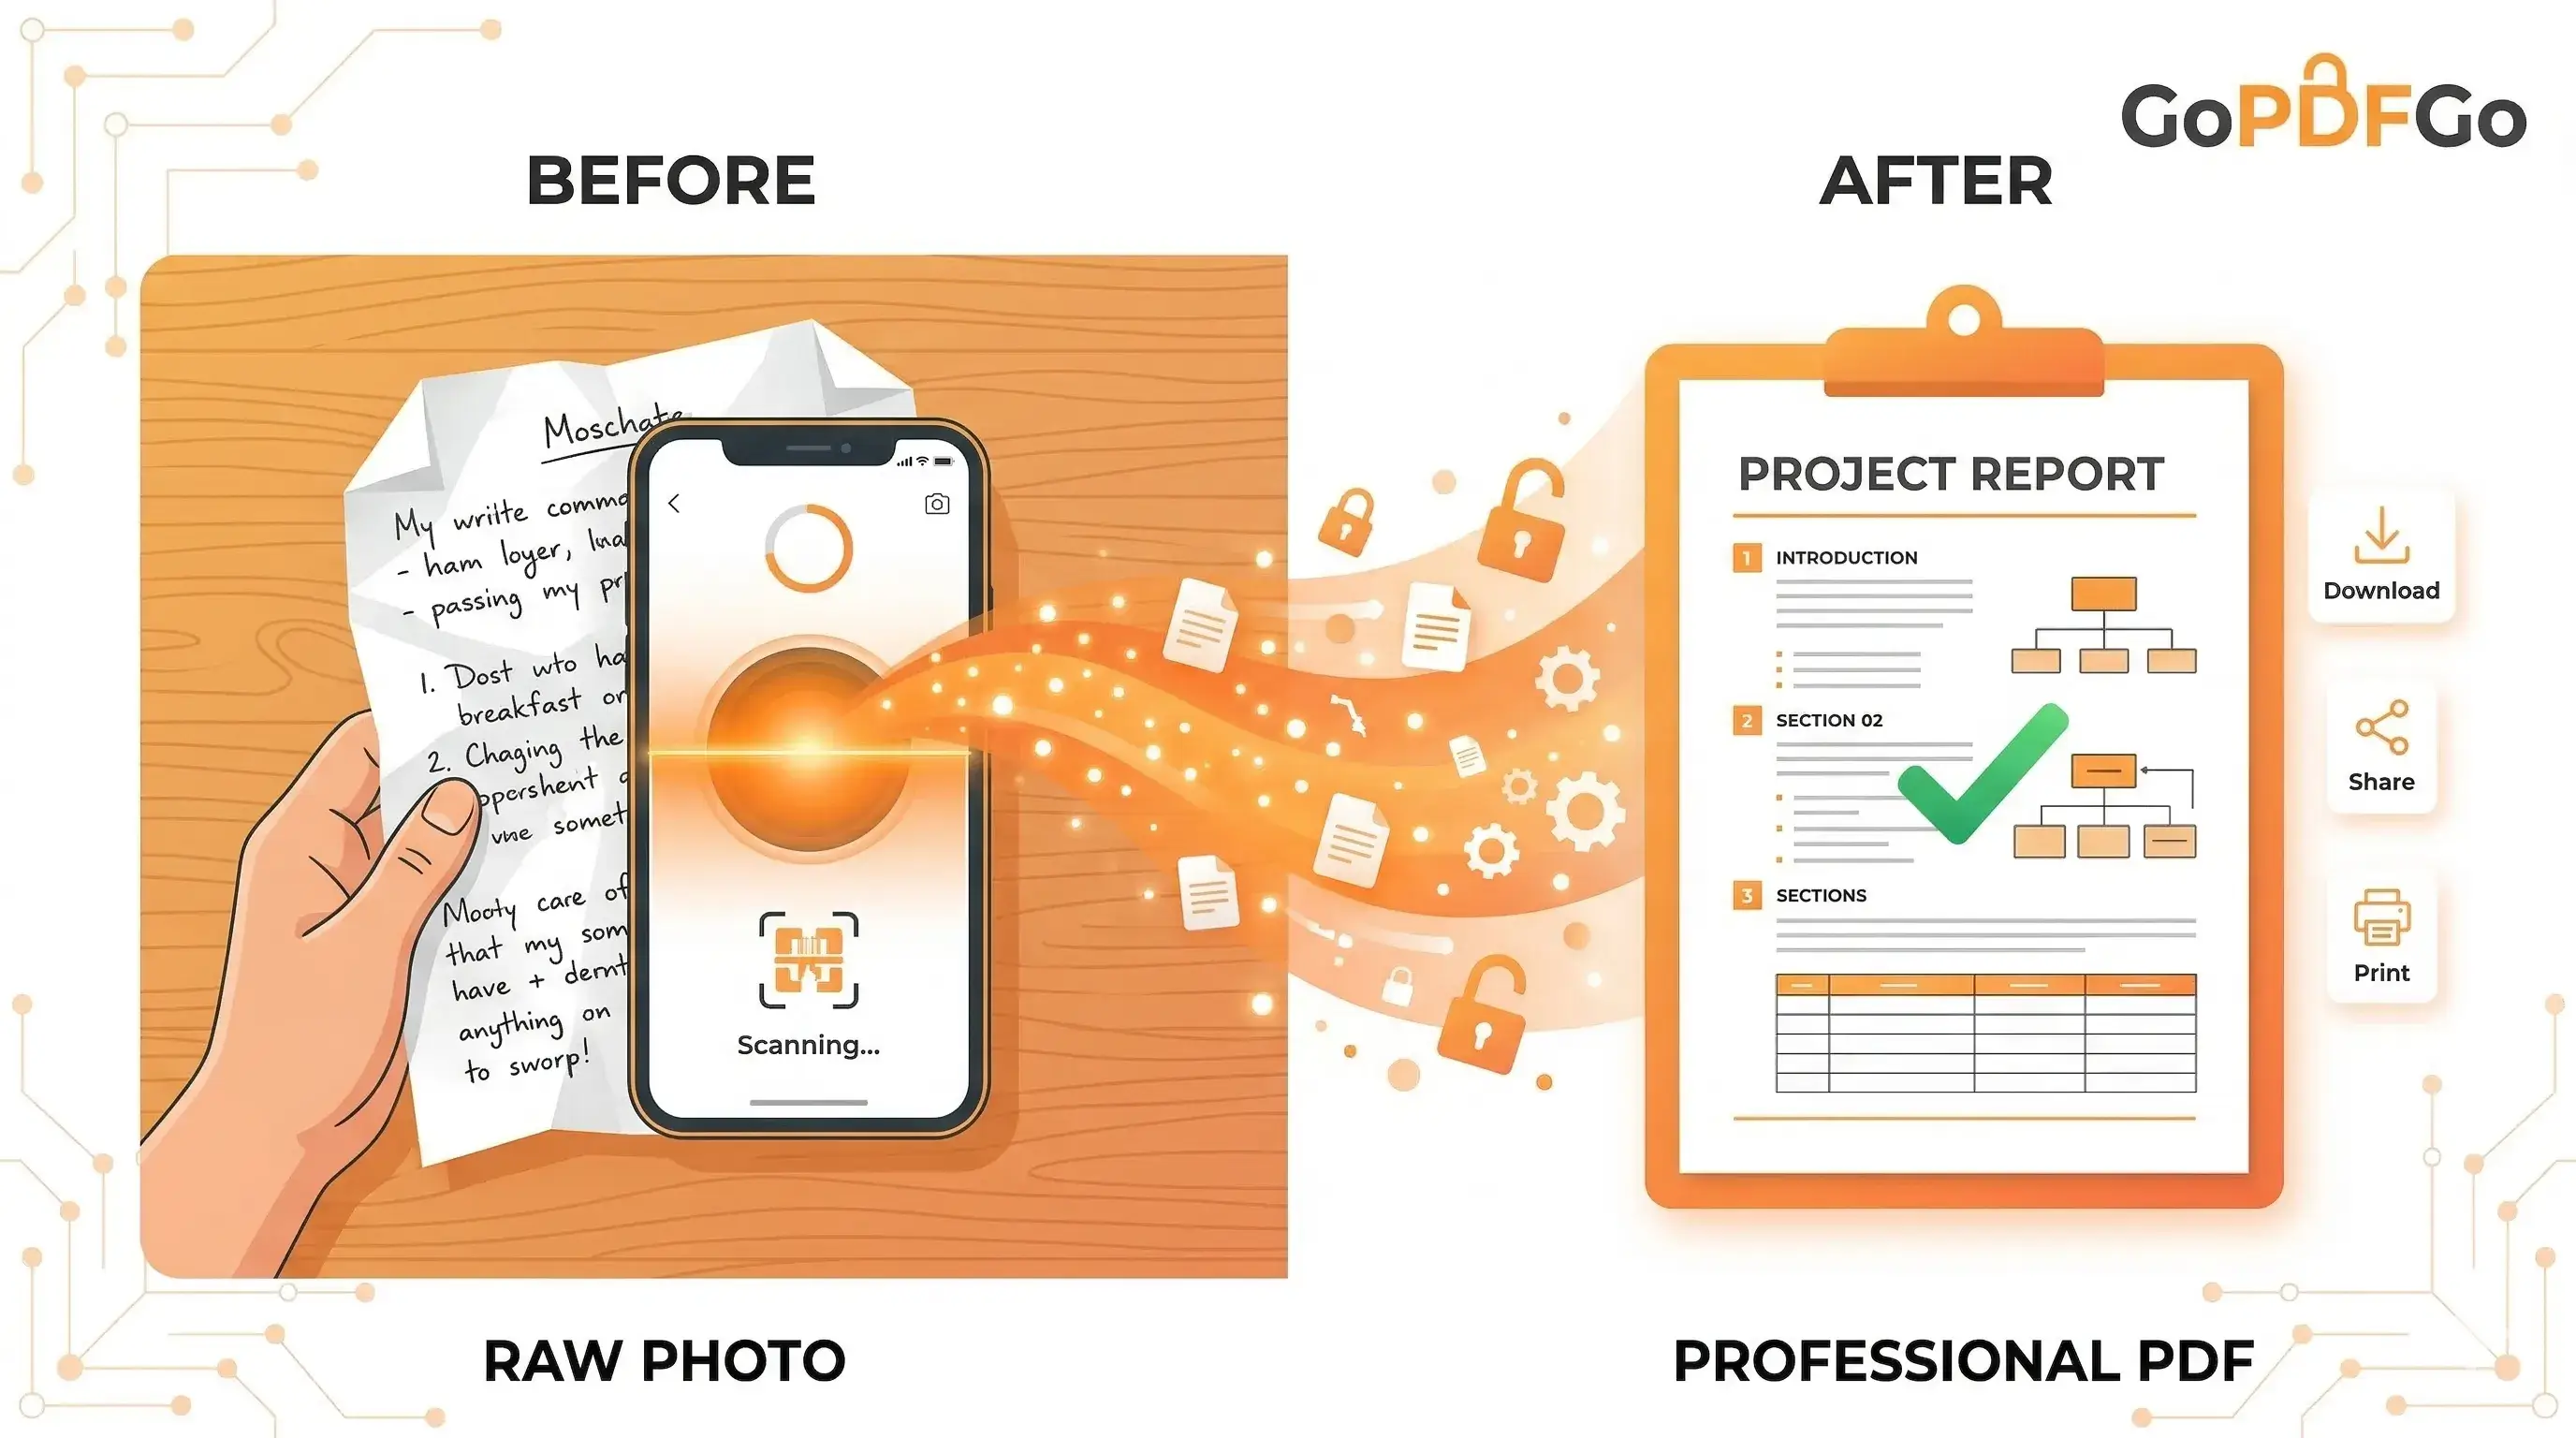
How to Convert Mobile Photos of Documents into a Clear, Professional PDF
Most of us no longer make a trip to the local cyber cafe just to get a single page scanned. Today, the camera on your smartphone is incredibly powerful—capable of capturing more detail and sharper text than most traditional flatbed scanners from a decade ago.
However, taking a photo of a document and actually submitting it to a formal institution are two completely different things. Most official portals, banks, and universities will not accept raw .JPG, .PNG image files. They demand a neat, professional .PDF document. If you just submit a raw photo from your gallery, it looks highly unprofessional and runs the risk of getting your application flagged or delayed.
Why Are Image Formats Rejected by Portals?
There are a few solid, technical reasons why institutions prefer PDFs over standard image files:
- Standardization and Consistency: An image can be opened in thousands of different viewers, which often changes its scale, dimensions, and aspect ratio. A PDF locks the formatting so it looks exactly the same on a mobile phone screen as it does on a desktop monitor.
- Multi-page Capabilities: If you have a 5-page college assignment or a 3-page contract, sending 5 different JPEG files attached to an email is a messy, confusing experience for the receiver. A PDF packages all those pages neatly into one continuous, scrollable file.
- Print-Ready Nature: PDFs are designed specifically for paper. An official can hit 'Print' and your document will perfectly fit a standard A4 sheet without the edges getting cut off.
How to Take a "Scanner-Quality" Photo on Your Phone
Before you even think about converting, you need a high-quality source image. A bad photo will make a bad PDF. Follow these crucial steps for the perfect shot:
- Use Natural Light: Avoid using your phone's camera flash at all costs, as it creates a harsh, bright glare in the center of the glossy paper. Place the document near a window during daylight.
- Contrast is Key: Place your white document on a dark, solid background (like a dark wooden table or a plain bedsheet). This helps the camera find the edges and focus properly.
- Hold Parallel: Keep your phone directly parallel to the paper to avoid perspective distortion. Turn on the "Grid Lines" feature in your camera app to help you align the document perfectly.
- Never use WhatsApp for transfer: If you took the photo on another phone, do not send it via WhatsApp before converting. WhatsApp heavily compresses images and destroys text clarity. Transfer it via email or a cloud drive instead.
Converting Your Photos to PDF in 3 Clicks
Once you have your crystal-clear photos, bringing them together is effortless with our platform. And since GoPDFGo runs locally in your browser, your private assignments, contracts, or ID proofs are never sent to a remote, hackable server.
- Step 1: Open the Image to PDF converter on your mobile phone or desktop browser.
- Step 2: Select the images from your gallery. You can select multiple images at once to create a single multi-page PDF document.
- Step 3: Choose Orientation. Our tool allows you to set the PDF pages to Portrait (best for standard A4 documents, essays, and letters) or Landscape (best for wide certificates, ID cards, or driving licenses).
- Step 4: Click the convert button and download your professional document instantly.
Editing and Refining Before Converting
Sometimes, despite your best efforts, you might capture some of your desk, your bedsheet, or your fingers in the photo margins. It is highly recommended to clean up the image before converting it to a PDF.
You can use our Crop Image tool to easily remove unwanted borders and focus purely on the paper. Furthermore, if your camera accidentally saved the photo sideways (a very common mobile issue), use the Rotate Image tool to fix the orientation.
The Real Reason Your Photo Still Looks Amateurish
You followed every camera tip and the PDF still screams "phone snap, not a scan." Nine times out of ten, it's one of these three things. First, you didn't fill the frame. People stand back, snap the whole table, and the actual document occupies barely 60% of the picture. When a portal shrinks that to a thumbnail, your text turns to mush. Get close and let the paper touch the edges of your viewfinder.
Second, the shadow of your own hand or phone is falling across the page. Side lighting from a tube light does this constantly. Shift slightly so the light comes over your shoulder, not from behind the paper. Third, your crop is lazy. A real scanner outputs only the document, with clean right-angle corners. So after you shoot, draw a tight box right up to the paper's edge in our Crop tool — the built-in aspect-ratio presets snap you to a clean A4-ish rectangle in seconds. That single step does more for the "scan look" than any expensive app filter.
Why Bother When Scanner Apps Exist?
Fair question. Most popular scanner apps do auto-detect edges, and that part is genuinely useful. But here's what they don't tell you upfront. The free tier slaps a watermark across the corner of every page — "Scanned with CamScanner" — and an SSC or EPFO clerk reviewing your form is well within rights to reject a watermarked document. To remove it, you pay a monthly subscription for a tool you'll use twice a year. Several of these apps also push your scans through their own cloud for "enhancement," which is the last thing you want for a PAN card or a bank passbook.
Shooting a plain photo with your normal camera and converting it yourself sidesteps all of that. No watermark, no subscription, no account. You shoot, you crop, you convert. If a stray finger or a bit of the desk crept in, fix it before converting rather than paying to "auto-clean" it.
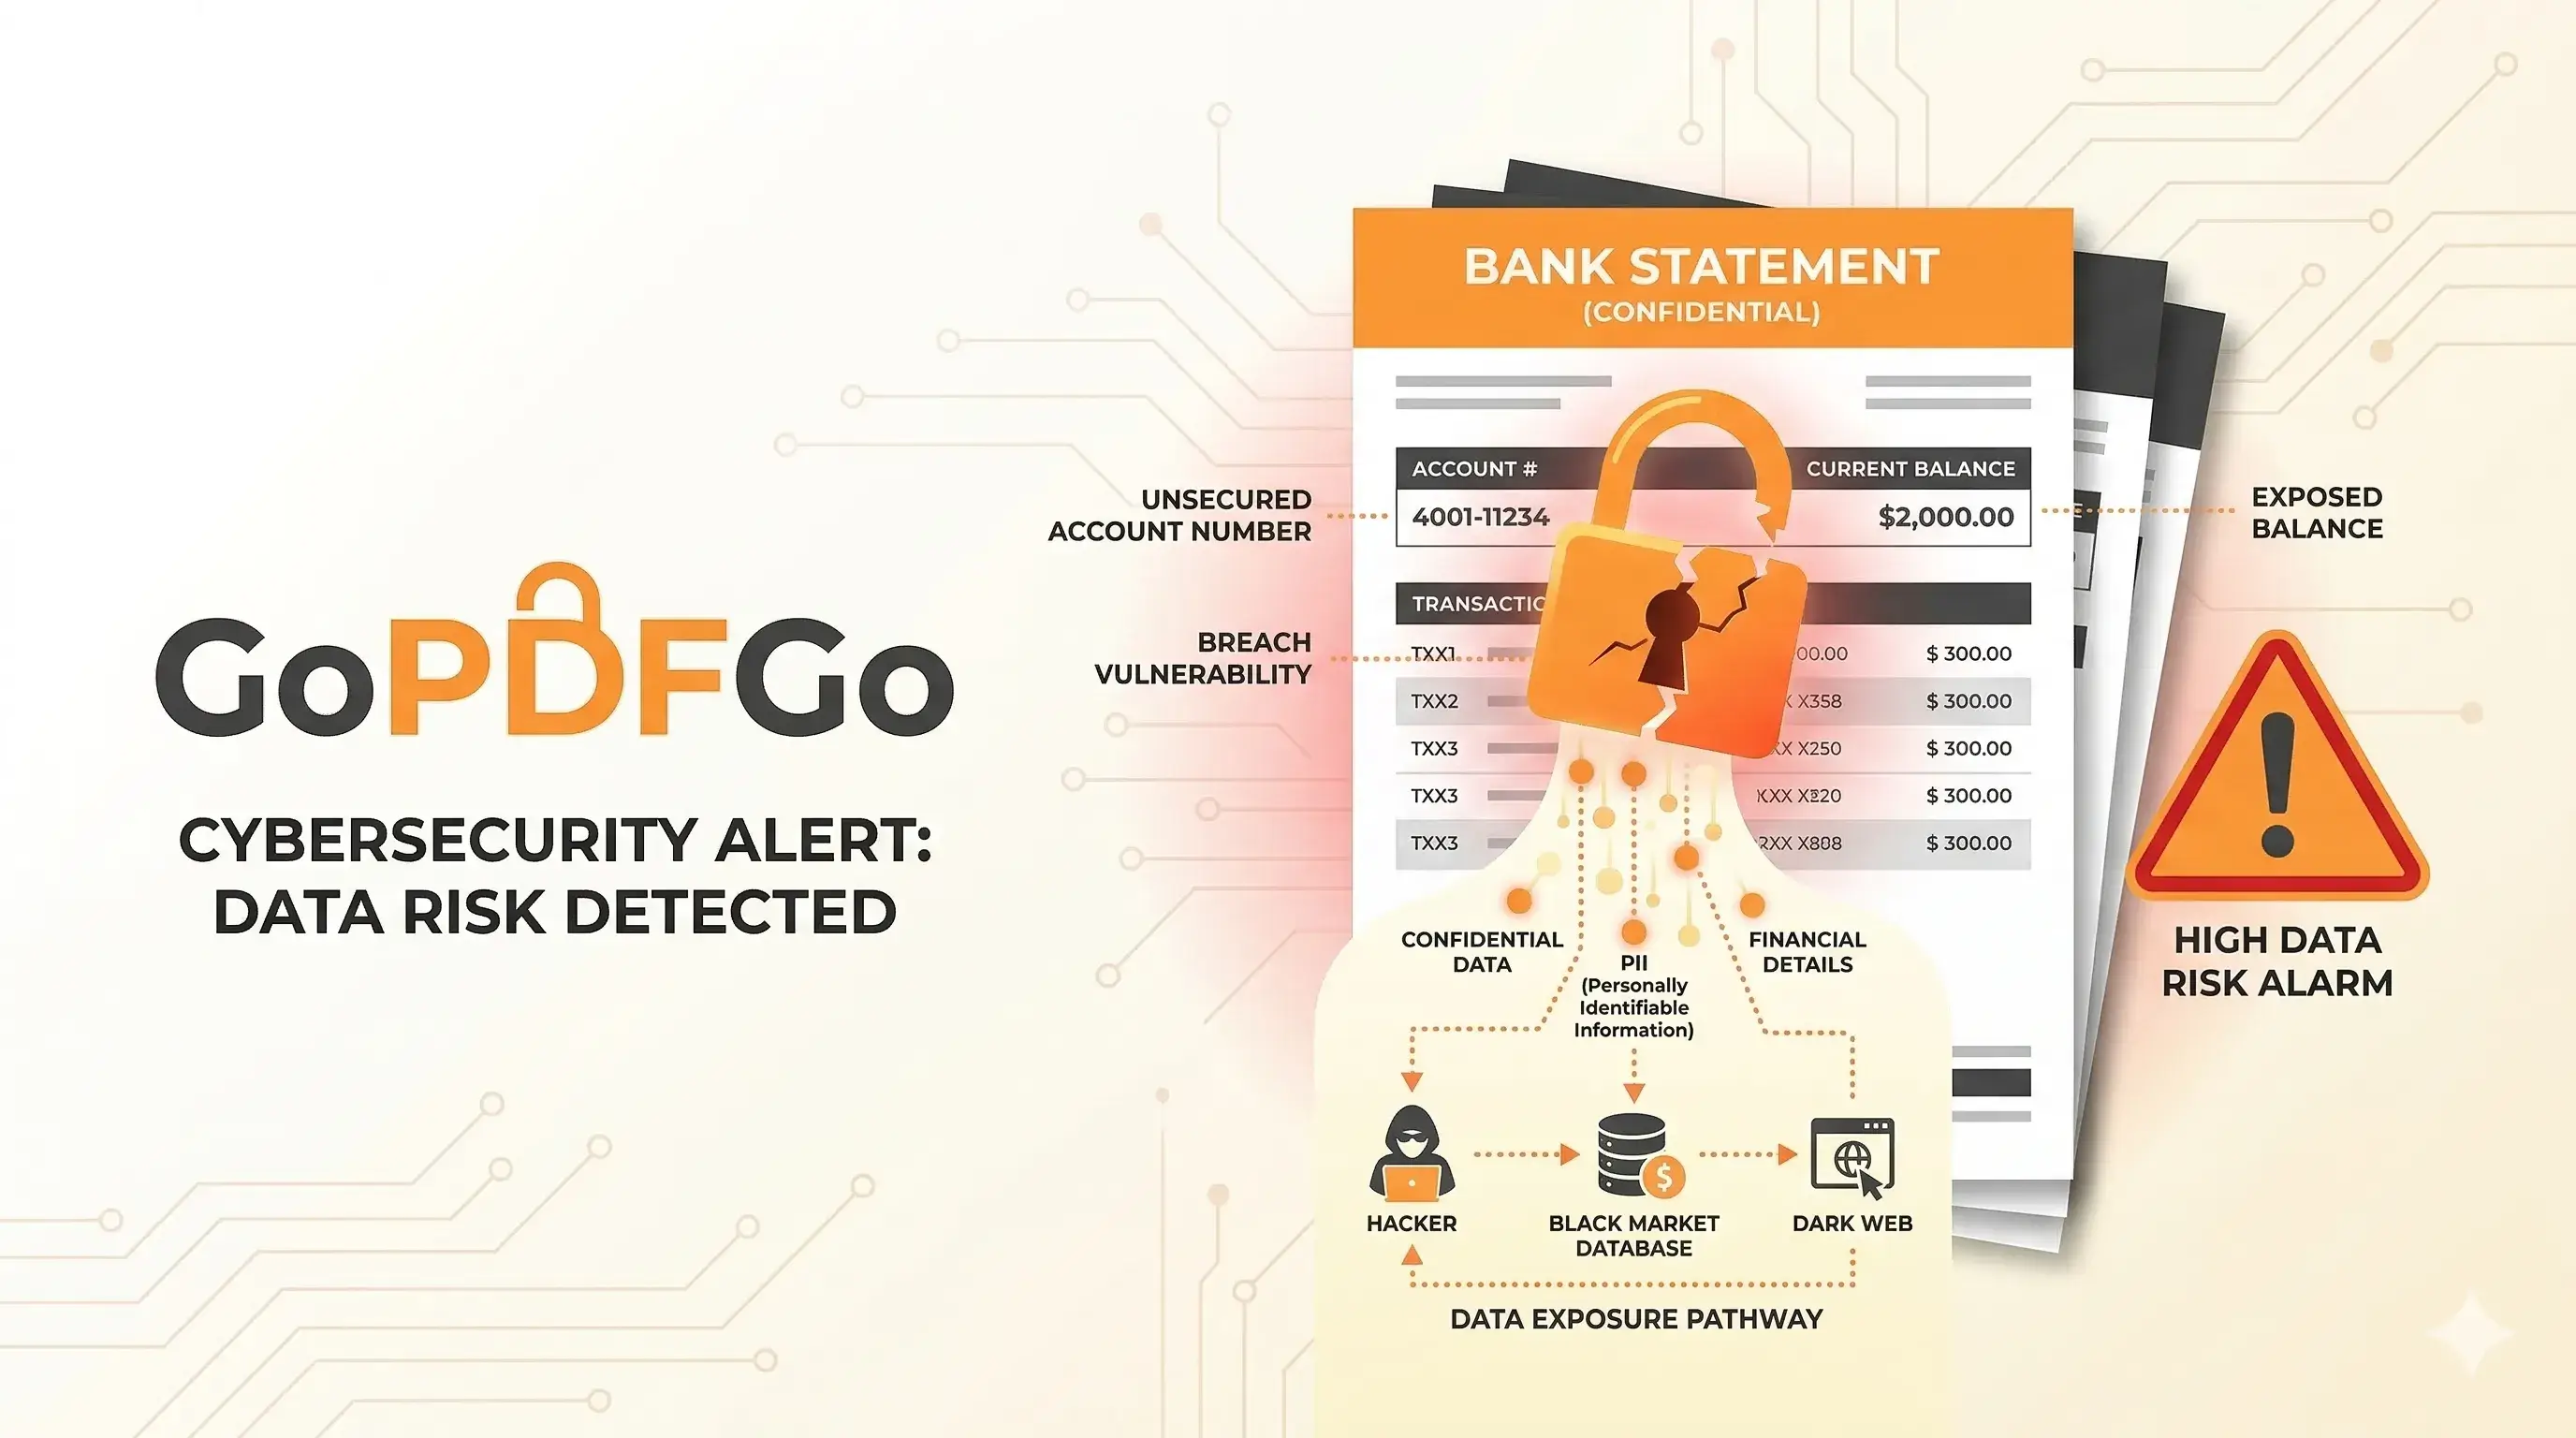
Keeping Text Crisp for KYC and Portal Uploads
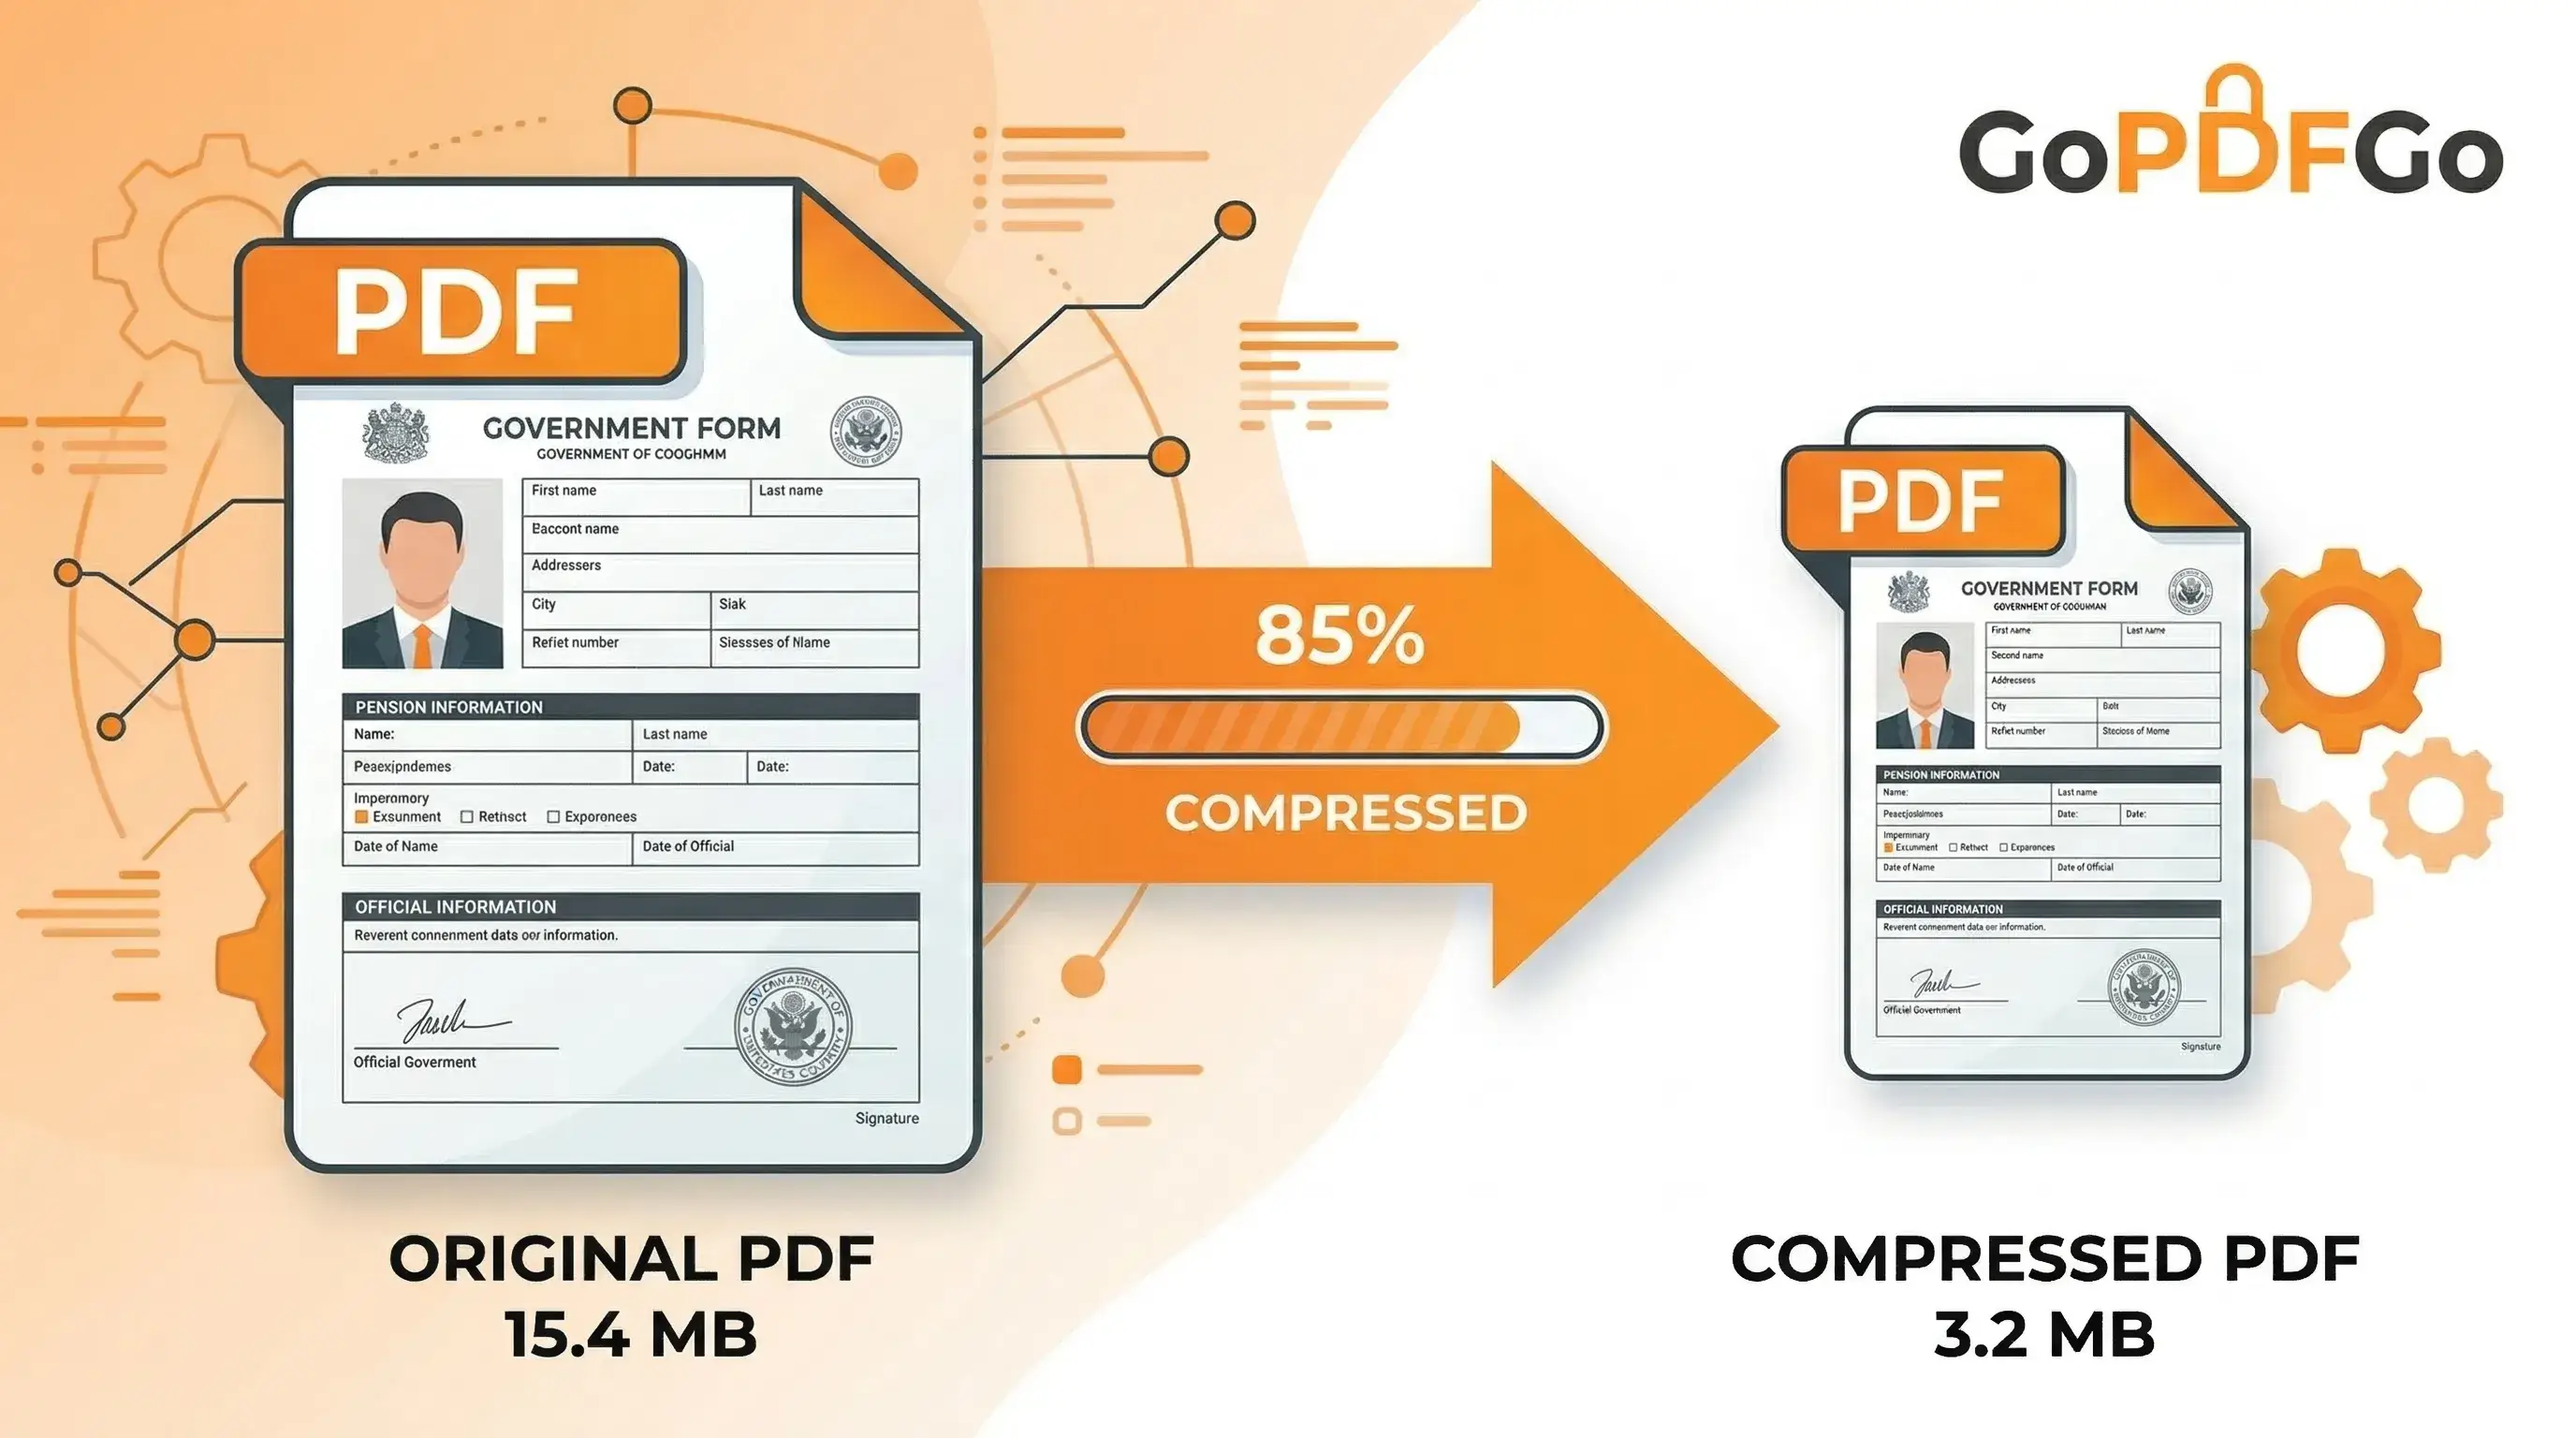
This is where most people quietly sabotage their own application. The portal says "max 200KB" or "under 1MB," so they grab some random compressor and crank it down until the file fits — and the PAN number goes blurry. A reviewer who can't read your father's name or your DOB will simply mark it for re-submission, and you've lost a week.
The trick is to compress the image sensibly before it ever becomes a PDF, not to nuke the PDF afterwards. Run your photo through our JPG compressor first. It has a quality slider and a target-size mode, so you can aim for, say, 180KB and watch the preview — push it only as far as the text stays sharp, then stop. A 200KB image with readable digits beats a 50KB smudge every single time. Feed that clean, right-sized photo into the converter and your final PDF lands under the limit without the text falling apart.
Fix a Sideways Shot Before It Ruins the Order
Phones love saving the odd photo rotated 90 degrees, and you usually notice only after it's inside the PDF. When you're combining several pages, one sideways shot throws off the whole sequence — page 3 of your six-month statement suddenly lands on its side. Sort it at the source. Drop your images into the Image to PDF tool, drag the thumbnails into the exact reading order you want, and straighten any rogue one with our Rotate tool before you hit convert. Two minutes of tidying beats re-uploading a rejected form to the Income Tax portal at 11pm.
Taking these extra 30 seconds to clean up your image guarantees a flawless, scanner-quality PDF that will be accepted anywhere, saving you time and stress in the long run.
Frequently Asked Questions
Q: How do I turn phone photos into a single clear PDF?
A: Open the Image to PDF tool, add your photos, reorder them if needed, and download one clean PDF — right on your phone, with nothing uploaded.
Q: Why do my photo-scans look blurry when I upload them?
A: Usually the document does not fill the frame or the lighting is uneven. Get close so the paper touches the edges, use even light, and crop out the background with our Crop Image tool.
Q: Can I combine several photos into one PDF?
A: Yes. Add all the photos at once, drag them into the correct order, and they become a single multi-page PDF.
Q: My PDF is too large for the upload form. What now?
A: Use the Compress PDF tool with Target Size (KB) mode to fit the portal’s size limit.