How to Add Page Numbers to Your College Project PDF Before Printing
It is the night before your final year college project or master's thesis is due. You have spent months researching. You wrote the main chapters and literature review in MS Word, created your statistical charts in Excel, and designed a beautiful cover page in Canva. You exported them all as PDFs and successfully combined them using a PDF Merger tool.
The final document looks great on your screen, but there is one massive, glaring problem: The page numbers are completely messed up. Because the document was assembled from different sources and software, there is no sequential numbering. Some pages have no numbers, while others restart at '1'.
If you take this unnumbered 100-page document to the printing shop, and the pages accidentally drop on the floor before binding, it will be physically impossible to put them back in the correct order. Furthermore, your meticulously crafted "Table of Contents" is now completely useless to the external examiner reviewing your work.
Why Manual Numbering is a Terrible Idea
In a panic, some students try to fix this by opening the PDF in a basic image editor or drawing tool and manually typing text boxes with numbers on each page, one by one. Not only does this take hours of precious time, but it also looks highly unprofessional. The numbers will never align perfectly; they will jump around from the left to the right on every page, instantly signaling sloppy formatting to your professors.
The Automated Solution: Inserting Page Numbers Instantly
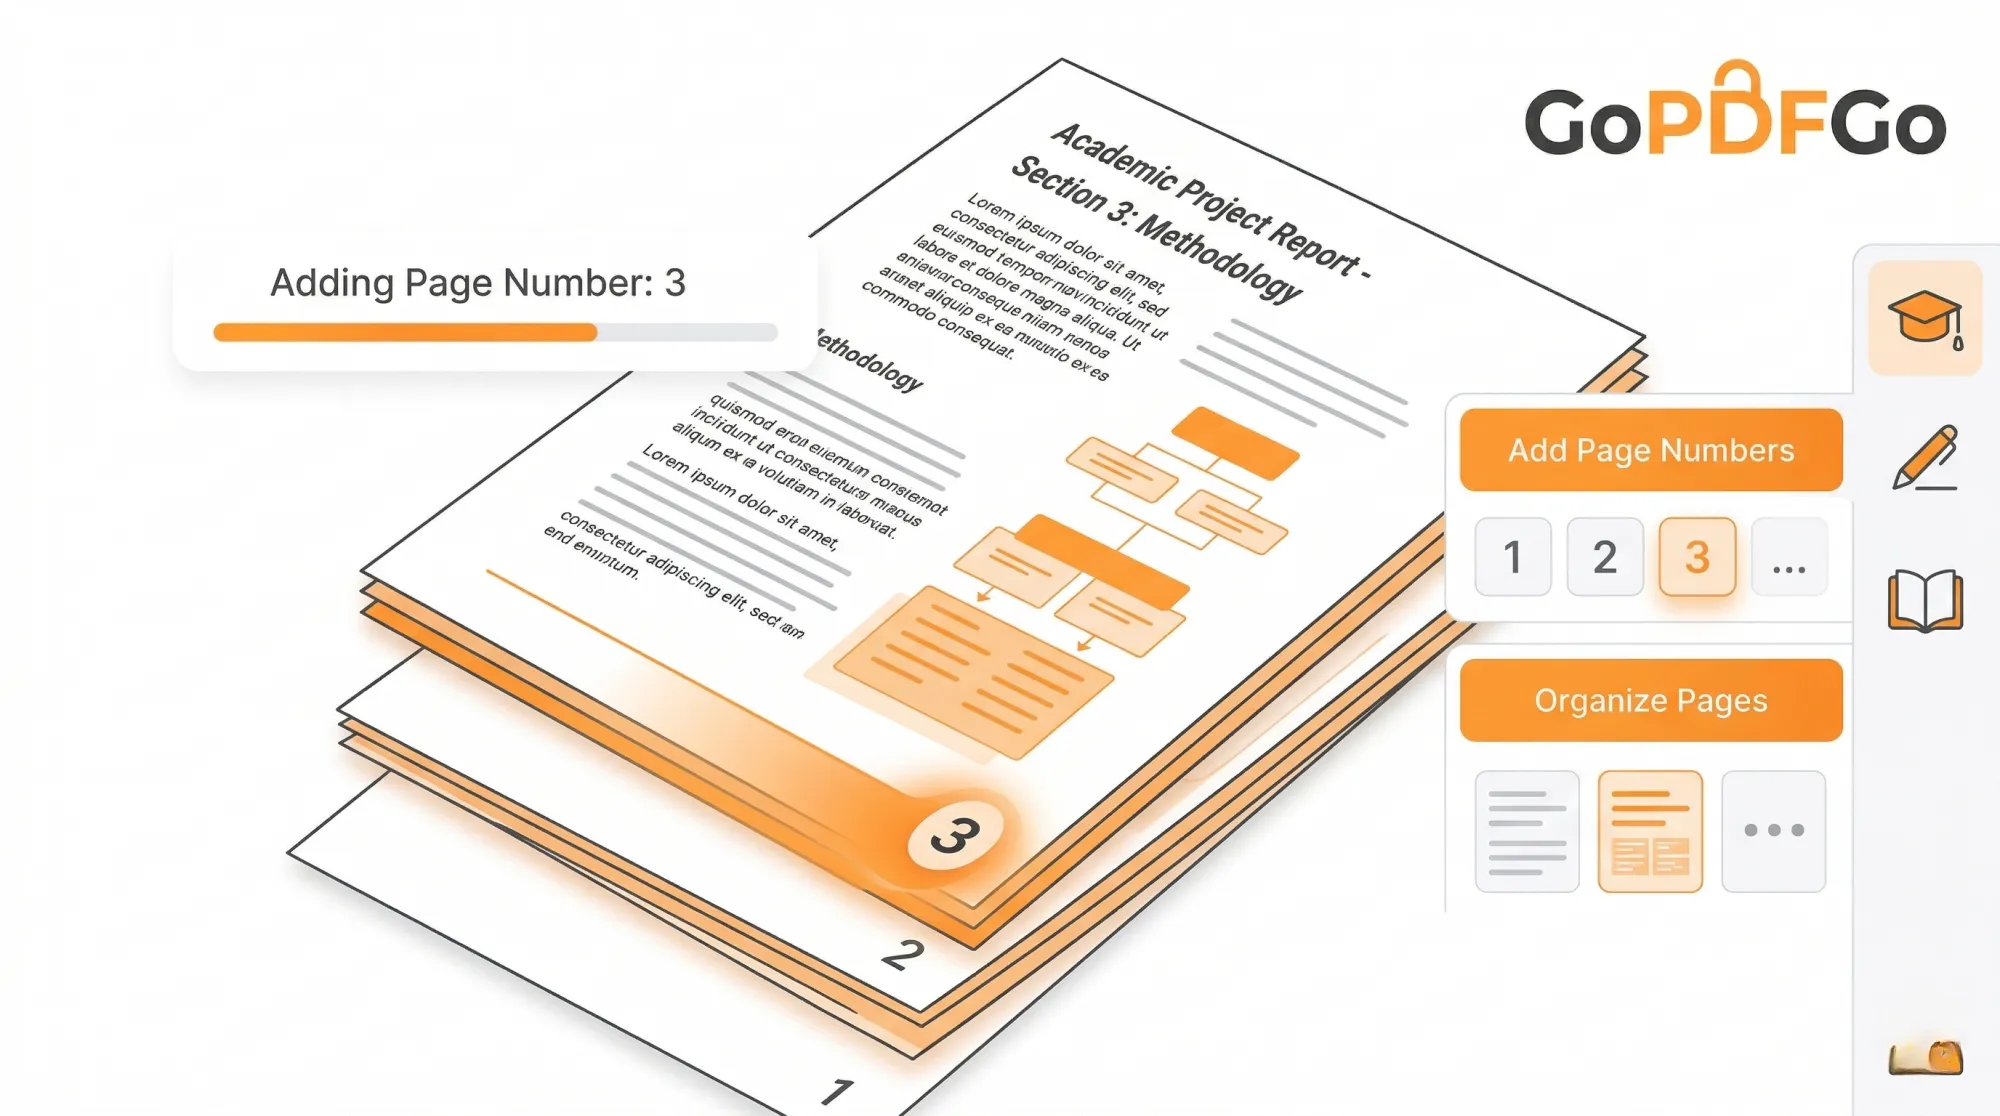
Adding page numbers to a completed thesis should take seconds, not hours. With our automated pagination tool, you can inject clean, perfectly aligned numbers across your entire document in a single click, adhering to strict academic formatting guidelines (like APA or MLA style).
How to Add Page Numbers to Your PDF:
- Step 1: Finalize the Document. Ensure your document is completely assembled. If you still need to add an acknowledgment page or an appendix, use the Merge PDF tool to finalize the structure first.
- Step 2: Navigate to the Add Page Numbers to PDF tool on GoPDFGo.
- Step 3: Upload the File. Drag and drop your final thesis or project file into the upload zone. Processing happens locally, so even a 200-page thesis loads instantly.
- Step 4: Choose the Position. You can usually select where the numbers should universally appear (e.g., Bottom Center, Bottom Right, or Top Right). For standard academic papers, Bottom Center is the safest and most widely accepted choice.
- Step 5: Generate and Download. Click the apply button. The system will iterate through your document and cleanly stamp sequential numbers in the exact same pixel location on every single page.
Final Checks Before You Print and Bind
Before you spend money at the print shop for hardbound copies, always do a quick scroll through your newly numbered PDF. Ensure that the automated numbers do not overlap with any critical text, footnotes, or full-page diagrams at the bottom of the page.
If you notice that some pages are upside down (perhaps a landscape chart that got scanned incorrectly), you don't need to start over or recreate the PDF. Just use the Rotate PDF tool to permanently fix the orientation of those specific pages.
Some Pages Should NOT Have a Number on Them
This is the part most students get wrong, and examiners notice it in two seconds. Your cover page, the certificate signed by your guide, the declaration, and usually the acknowledgement are not supposed to carry a visible page number. The front matter is either left blank or numbered separately in small roman numerals (i, ii, iii) in most university handbooks. If you stamp a bold "1" right on your title page, it instantly looks like a homemade job.
So before you number anything, decide where the numbers should start. If you do not want a number on your cover or certificate, just tick the Skip first page option in the Add Page Numbers tool — it keeps the cover clean and starts the count from the next page. You can also set the starting number and the position. There is no need to split the file apart and merge it back any more; but the difference between a "1" sitting on your certificate and a clean cover is the difference between looking careful and looking rushed.
Match the Numbers to Your Table of Contents and List of Figures
Here is the thing nobody tells you until the viva: your Table of Contents, List of Figures and List of Tables all point to specific page numbers. The moment you stamp numbers onto the assembled PDF, those have to agree. If your ToC says "Chapter 3 — page 34" but the stamped number on that page reads 31, the examiner flipping to it will land on the wrong page and start doubting everything else.
So do the numbering first, then go back into your Word file and type the real numbers into the ToC, the List of Figures and the List of Tables by hand. Don't trust Word's auto-field across a merged document, because the merged PDF and your Word draft almost never line up page-for-page. Open the final stamped PDF side by side, find where each chapter and each figure actually begins, and write those exact numbers in. Five minutes of cross-checking saves you a very awkward moment in front of the panel.
Re-numbered Everything After a Last-Minute Edit?
You will. Your guide will read it the evening before submission and ask you to add a paragraph or fix one figure, and suddenly every page after that shifts by one. This is exactly why you number the PDF last and keep the un-numbered master safe. Re-running the page numbers tool takes a few seconds, and because it stamps cleanly at your chosen position (bottom-centre by default), you are not left peeling off old numbers or fighting misaligned text boxes. Just regenerate, then update the three lists again.
If the late edit was only removing a junk page or a duplicate, you don't even need to touch your Word file. Drop the page with Delete PDF Pages, then re-stamp. The kept pages stay sharp and the count corrects itself.
Getting It Right at the Xerox and Binding Shop
The print shop near campus is not going to proofread your file. Whatever you hand them on the pen drive or over WhatsApp is what gets printed and hardbound, and a spiral or hardbound copy is expensive to redo. So check two things on the final numbered PDF before you pay. First, that the number isn't sitting inside the binding margin — hardbinding eats roughly half an inch on the left edge, so bottom-centre is the safe choice (which is exactly where this tool defaults to). Second, that no number lands on top of a footnote or the caption under a full-page chart. Scroll the whole thing once. The five minutes you spend here is a lot cheaper than reprinting forty pages and waiting another day for the binder.
A well-formatted, properly numbered thesis shows your evaluating professors that you pay attention to detail. Finish your academic project strong by ensuring the final presentation is totally flawless.
Frequently Asked Questions
Q: How do I add page numbers to my college project PDF?
A: Open the Add Page Numbers tool, choose the position and format, and click apply — numbers are stamped across every page in one go.
Q: How do I skip numbering the cover page?
A: Tick Skip first page in the tool. It leaves your cover clean and starts the count from the next page — no need to split the file.
Q: Can I start numbering from a specific number?
A: Yes. Set your own starting number, and pick a format like plain "1, 2, 3" or "Page 1 of N".
Q: Will the number overlap my text or diagrams?
A: It sits in the page margin. Choose Bottom Center (safest for binding) or another corner so it stays clear of your content, and do a quick scroll before printing.