Convert PNG to JPG Online to Fix Black Backgrounds and Heavy Files
You took a screenshot on your phone, cropped it neatly, and went to upload it to a government form or your college ERP. The preview loads and there is a big black box around your photo. Or the portal flat-out refuses the file: "Only JPG/JPEG allowed." Or it accepts the PNG but then complains the file is 4MB when the limit is 200KB. Same screenshot, three different walls.
All three usually trace back to one thing. Your file is a PNG, and the portal wanted a JPG. Converting it fixes the lot, and it takes about ten seconds. Here is what is actually going on, and how to sort it without handing your KYC documents to some random server.
Why your PNG turns into a black box
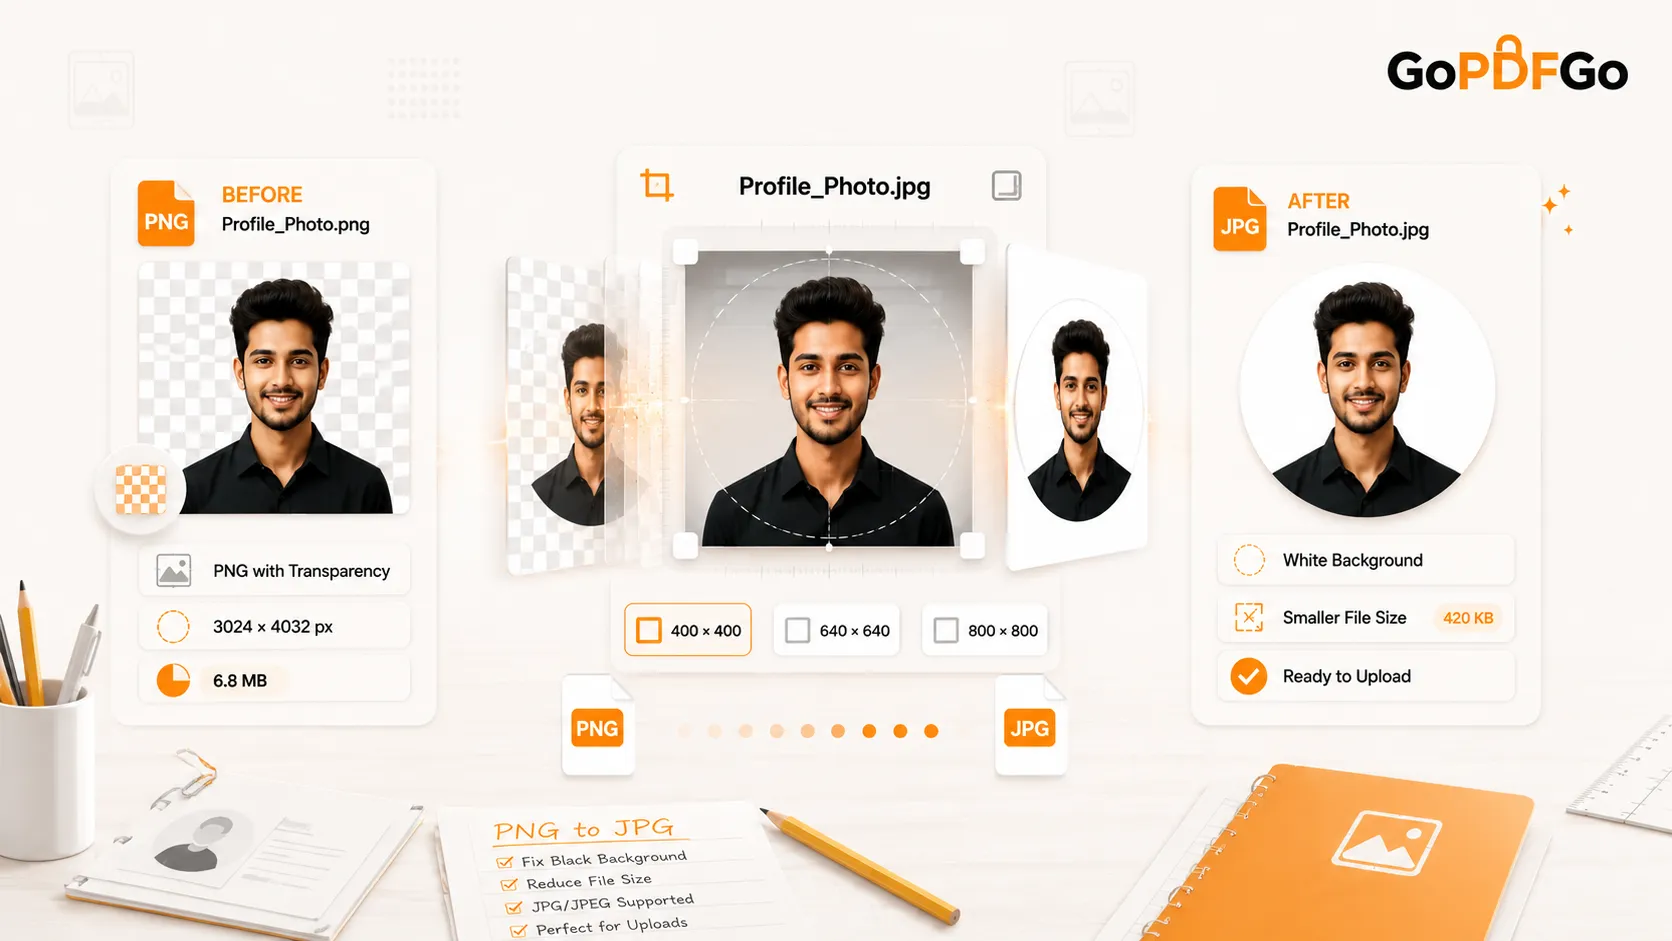
PNG files can store transparency. That is the whole point of the format for logos and clean graphics. When you screenshot a Story, save a sticker, or crop something with rounded corners, the "empty" areas are not white, they are nothing. Transparent pixels with no colour assigned.
Your phone and your laptop know how to draw "nothing" as a clean checkered or white area. But a lot of older upload portals, government servers, and printing setups do not. When a transparent pixel reaches a viewer that does not handle it gracefully, those see-through areas often render as solid black. So your perfectly fine screenshot lands in the verification officer's folder looking like it was photographed in a power cut.
JPG cannot store transparency at all. So the moment you convert PNG to JPG, the tool has to decide what to put behind those transparent pixels, and it fills them with a solid colour, usually white. This is not a bug, it is how the format works. That flattening is exactly what kills the black box. The transparent gaps become plain white, the image looks the way it does on your screen, and the portal stops choking on it.
The other reason: PNGs are just heavy
PNG keeps every pixel, lossless, no shortcuts. Great for a crisp logo. Terrible when you have screenshotted a full-colour photo or a busy webpage and the file balloons to 3, 4, even 8MB. A government recruitment portal that wants your photo under 100KB is going to reject that instantly.
JPG uses lossy compression. It throws away colour data your eye will not miss and gets dramatically smaller. The same screenshot that is 4MB as a PNG can drop to a few hundred KB as a JPG, often with no visible difference for a document or a form photo. So converting solves the size problem and the format problem in one move.
If you genuinely want to understand which format suits which job, our JPG vs PNG guide breaks down the trade-offs properly. This article is not that. This is the practical "I just need a JPG right now" walkthrough.
When you actually need PNG to JPG
- The portal says JPG or JPEG only. Banking KYC, a few state PSC forms, older college admission ERPs, some scholarship sites. They simply do not accept PNG.
- Your screenshot or cropped photo shows a black background on the preview but looks fine in your own gallery.
- The file is too heavy for a strict KB limit and it happens to be a PNG.
- You are sending a document photo on WhatsApp or email and want a smaller, universally openable file.
- The Xerox shop guy says his printer "is not taking" your file. Hand him a JPG and watch the problem disappear.
One honest caveat. If your image genuinely needs transparency to sit cleanly over a coloured background, like a logo going onto a website header, converting to JPG is the wrong call. JPG will slap a white rectangle behind it. For a form upload that is exactly what you want. For a floating logo it is not. Know which one you are doing.
How to convert PNG to JPG on GoPDFGo
The whole thing runs inside your browser. Your screenshot, your Aadhaar photo, your marksheet, none of it gets uploaded to a server. It is processed on your own device and nothing leaves it.
- Step 1: Open the Convert to JPG tool on your phone or laptop.
- Step 2: Drag your PNG in, or tap the upload area and pick it from your gallery or downloads.
- Step 3: The tool flattens the image to JPG and fills any transparent areas with a solid white background. That is the step that removes the black box.
- Step 4: Download the JPG. Open it once to confirm the background is white and the image looks right before you upload it anywhere.
- Step 5: If the portal also has a size limit and your JPG is still a touch heavy, run it through Compress JPG to bring it under the KB cap.
Format first, then size
This is the order that trips people up. They convert to JPG, see it is still 800KB against a 100KB limit, and assume the conversion failed. It did not. Conversion fixes the format and the black box. Hitting a specific KB target is a separate job.
So do it in two steps. First convert PNG to JPG. Then, only if the portal has a size cap you are still over, send that JPG through Compress JPG and squeeze it down to the limit. Trying to do both in your head at once is how you end up re-uploading the same file five times while the deadline clock ticks. And if the portal is fussy and insists on the JPEG extension specifically, our Compress JPEG tool covers the same ground.
A few real situations this solves
The fresher's first job application. You cropped your passport photo on your phone, it saved as PNG with rounded transparent corners, and the company careers portal shows it with black wedges in the corners. Convert to JPG and the corners go white.
The college ERP that only eats JPG. Half these systems were built years ago and never updated. They reject PNG outright. You do not need to re-take anything, just convert what you have.
The bank KYC re-upload. SBI or HDFC net banking asks for a fresh photo of a document, your screenshot is a heavy PNG, and the upload keeps failing silently. Convert it, it shrinks, it goes through.
If your source is a screenshot that needs cropping or straightening first, do that with Crop or Resize before you convert. And if a portal actually wants a PDF instead of an image, Image to PDF takes your converted JPG and wraps it into a clean single-page document.
FAQ
Q: Will converting PNG to JPG reduce my image quality?
A: A little, because JPG is lossy. For a document, a form photo, a screenshot of text, or a marksheet, you will not notice it at normal viewing size. For a high-detail photograph you plan to print large, you would see a slight softening, but for upload-to-a-portal purposes it is a non-issue.
Q: Why is the background white and not transparent after converting?
A: Because JPG cannot hold transparency. The tool has to fill those see-through pixels with something, and white is the safe default. That is the exact behaviour that fixes the black box on government and ERP uploads. If you need transparency kept, stay on PNG, JPG is not the format for that.
Q: Is my document safe? Do you see my files?
A: No. The conversion happens locally in your browser on your own device. Your screenshots, Aadhaar photos, and marksheets are never uploaded to us, so there is nothing on our side to leak.
Q: The portal accepted the JPG but says it is too big. Now what?
A: Convert handled the format. For the size, run the JPG through Compress JPG and bring it under the KB limit the portal specified. Two quick steps, format then size.
That black box was never a problem with your photo. It was just a PNG meeting a portal that wanted a JPG. Convert it, check the background is white, compress if there is a size cap, and upload with one less thing to worry about. Start with the Convert to JPG tool and get it off your plate.