How to Convert Photo Receipts into a Single PDF for Expense Reimbursement
You are back from four days in Bengaluru. Somewhere between the airport cab, two hotel checkouts, a client dinner and eleven Ola rides, you have collected a pocketful of thermal-paper receipts, three of them already fading, plus a scatter of screenshots in your phone gallery. Finance wants the claim by Friday. And the expense portal, or the HR mailbox, wants one PDF, not twenty-three loose images.
If you have ever emailed a stack of photos to accounts and then got a reply asking which one was the Tuesday lunch, you already know why this matters. Attachments arrive out of order, half of them are sideways, one is a 6 MB shot of a bill that is 4 centimetres wide, and the person reconciling it has forty other claims in the queue. Claims that are annoying to check get pushed to the bottom of the pile. That is how a reimbursement slips a full cycle.
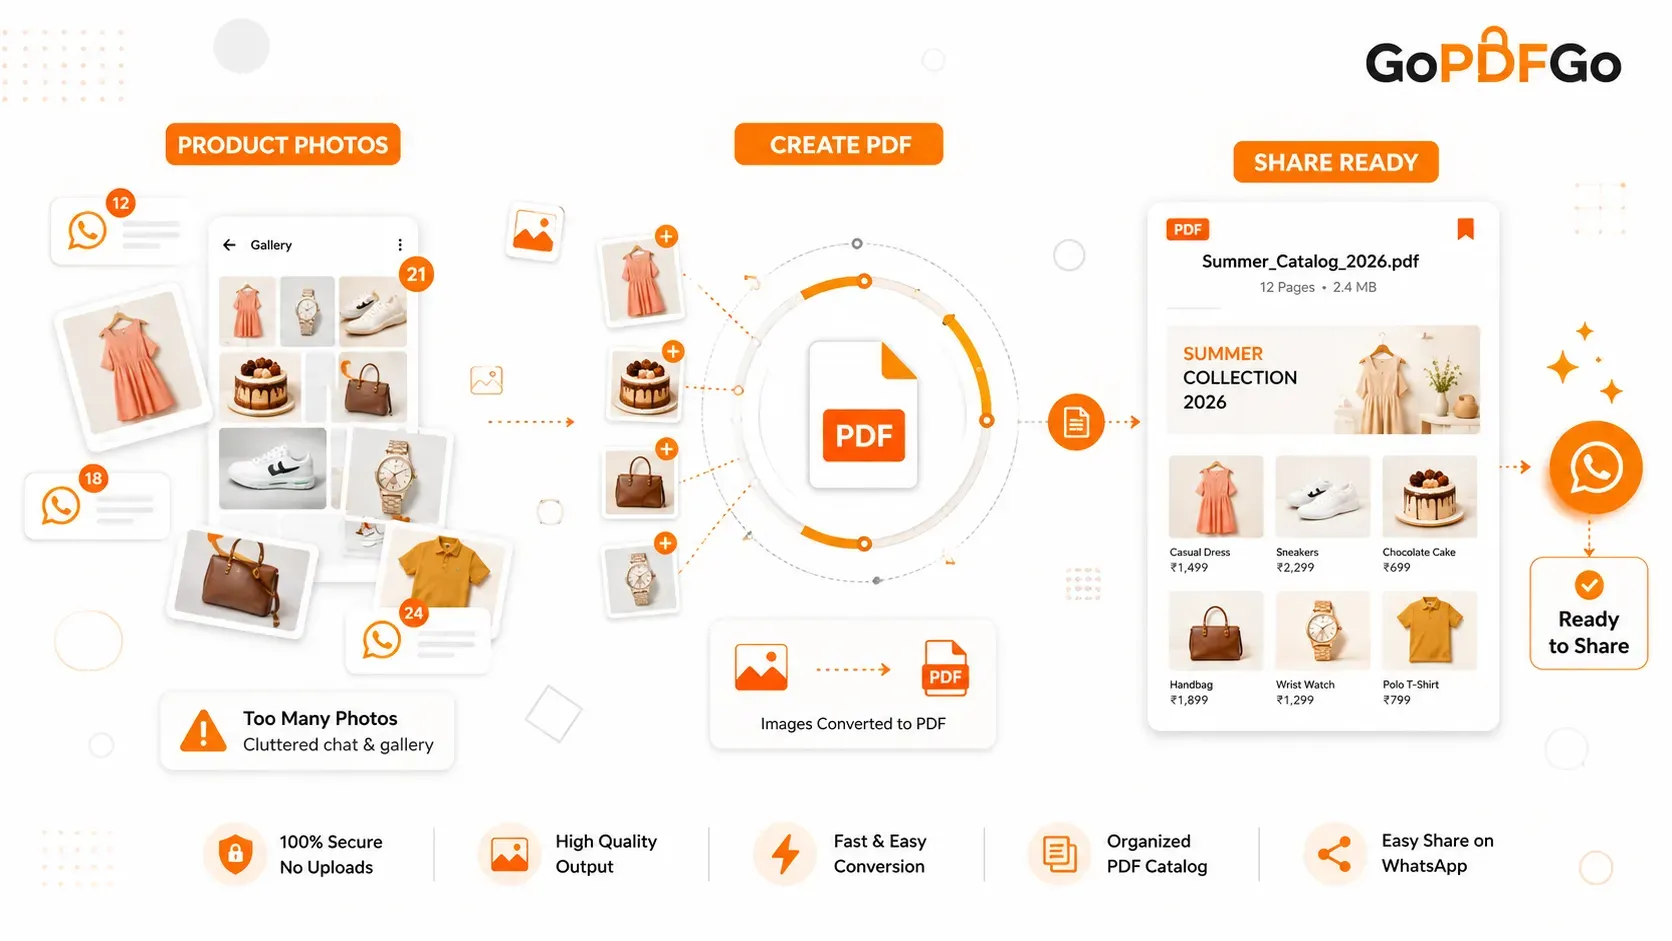
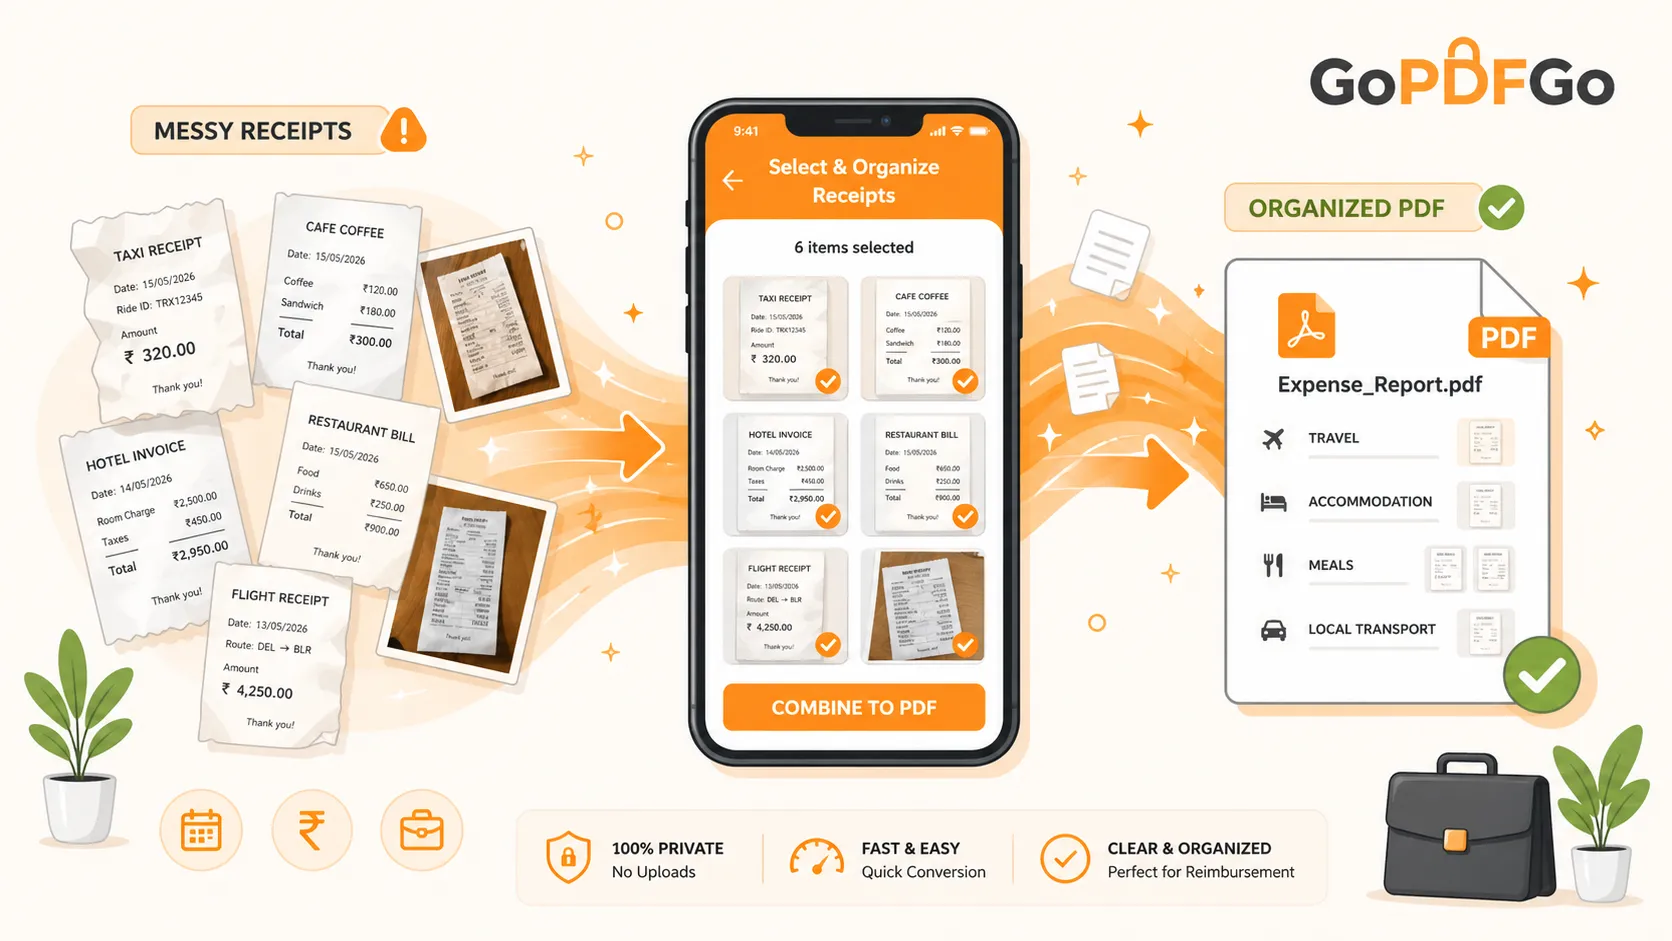
The fix is to turn your receipt photos into one ordered PDF: shoot each bill clearly, trim the clutter, drop all of them into the Image to PDF tool, drag them into date order, export a single file, then shrink it so it actually fits in an email. Fifteen minutes at the airport gate and your claim goes in looking like it was prepared by someone who has done this before.
Why Pasting Photos Into Word Backfires
The instinct most people have is to open a Word document, paste every photo in, and Save As PDF. It works, technically. It is also the method behind most of the "please resend, amount not legible" emails that finance sends.
Two things go wrong. First, Word quietly compresses every picture you paste in, and it does it aggressively. A GST number or an invoice total on thermal paper is small, low-contrast text to begin with; run it through Word's default squeeze and it turns into grey fuzz. Second, you spend ages resizing and nudging images so they sit inside the margins, and the moment you insert one more the whole layout jumps. For three receipts it is fine. For a week of travel it is a wasted evening.
A direct image-to-PDF conversion skips all of that. Each photo lands on its own page, scaled to fit, at the quality you shot it. Nothing gets resampled unless you later choose to compress it yourself, on your own terms.
Get the Photos Right Before You Convert
The converter can only work with what you give it, so a little care at the shooting stage saves a resend later.
- Dark, matte background. A black laptop sleeve or a dark desk works. White receipts on a white hotel bedsheet lose their edges.
- No flash. Thermal paper and laminated restaurant bills throw a glare that wipes out exactly the line you need, usually the total. Use window light or the room light and shoot from slightly above.
- Flatten it first. A receipt that has been folded in a wallet photographs with a shadow across the crease. Press it under your phone for a minute before shooting.
- Shoot faded thermal receipts immediately. Petrol pump and toll receipts can go blank within weeks in a hot car. The photo is your only durable copy.
- One receipt per photo. It is tempting to lay six on the table and take one shot. Do not. Finance wants to match one page to one line item.
If a photo caught your desk, your fingers or the edge of a coffee cup, use Crop Image to trim it down to the bill before you convert. It is a small thing, but a page that is mostly receipt reads as deliberate; a page that is mostly tablecloth reads as careless. And if a couple came out on their side, fix them with the Rotate Image tool first. The converter does read the orientation tag most phone cameras write, so many sideways-looking photos straighten themselves, but a screenshot or an edited image often has that tag stripped, and those will land sideways in the PDF unless you rotate them yourself.
How to Turn Receipt Photos Into One Expense PDF
- Step 1: Open the Image to PDF tool on your phone or laptop. It runs entirely inside the browser, so the receipts never leave your device, which is exactly what you want for a document that shows where your company spends money.
- Step 2: Select every receipt photo and screenshot in one go. JPG, PNG and WebP can be mixed in the same batch, so a Zomato screenshot and a camera shot of a taxi bill sit together happily.
- Step 3: Put them in order. The thumbnails run top to bottom and the first one becomes page 1. The tool does not sort by filename or capture time, so drag them into the sequence yourself: Day 1 flight, Day 1 cab, Day 1 hotel, Day 2 meals, and so on. Match the order to the lines on your claim form.
- Step 4: Pick the page size. A4 portrait is the safe choice for anything going to an Indian HR team; every receipt gets centred on a standard page with a margin, which prints cleanly if they file a hard copy. Fit to image gives a borderless page the exact shape of each photo, which looks neat on screen but produces odd tall-and-thin pages for long bills.
- Step 5: Click Convert to PDF and download. The file comes down with a GoPDFGo_ prefix; rename it to something the finance team will recognise, like Priya_Bengaluru_Trip_Sep2026.pdf.
Three Situations That Trip People Up
The hotel sent a PDF invoice, not a photo. Most hotels and airlines email a proper PDF, and the Image to PDF tool only takes images. Do not screenshot the PDF to get it in. Convert your photo receipts to a PDF first, then join that file with the hotel and flight PDFs using Merge PDF, dragging the cards into the order you want. You end up with one document where the airline invoice, the hotel folio and the cab receipts all sit in sequence. One caveat: if the airline PDF opens with a password, Merge will skip it and tell you which file it skipped, so unlock it first with the password you were given.
The trip was two weeks and there are sixty receipts. The converter has no hard cap on image count, so sixty pages is fine; the limit is your phone's memory. The bigger risk is you losing track. Sort the physical receipts by day on the table before you photograph anything, and shoot them in that order. Then the gallery order roughly matches the claim order and the dragging stage is a quick check rather than a puzzle.
Personal and company expenses are mixed together. Do not include the personal ones and expect finance to ignore them. It looks like you tried to sneak them in. Leave them out of the batch entirely before converting. If you only notice after export, remove those pages from the finished PDF rather than rebuilding from scratch.
Now Make It Emailable
Twenty modern phone photos, each 3 to 6 MB, become a PDF that can weigh 40 MB or more. Outlook and Gmail both refuse attachments over 25 MB, and plenty of internal expense portals cap uploads at 5 or 10 MB. So the second pass is Compress PDF.
Use Best compression here. It re-saves the file losslessly first and, because a receipt PDF is nothing but page images, it then optimises those images. A photographed-document PDF typically drops 60 to 80 percent, so a 40 MB bundle lands somewhere around 8 to 12 MB, and the digits on the receipts stay readable because the optimisation is tuned for exactly this kind of file. The tool will never hand you back a file bigger than what you gave it.
If the portal insists on a hard number like 5 MB, switch to Target size and type the figure in kilobytes - 5000 for 5 MB, 500 for half an MB. Be aware of the trade: to hit a small target the tool flattens pages harder, and on a very long receipt shot in poor light the smallest print can start to soften. Open the compressed file and zoom in on the totals and the GST numbers before you send it. If they have gone soft, the answer is usually a slightly larger target, or splitting the claim into two PDFs by week.
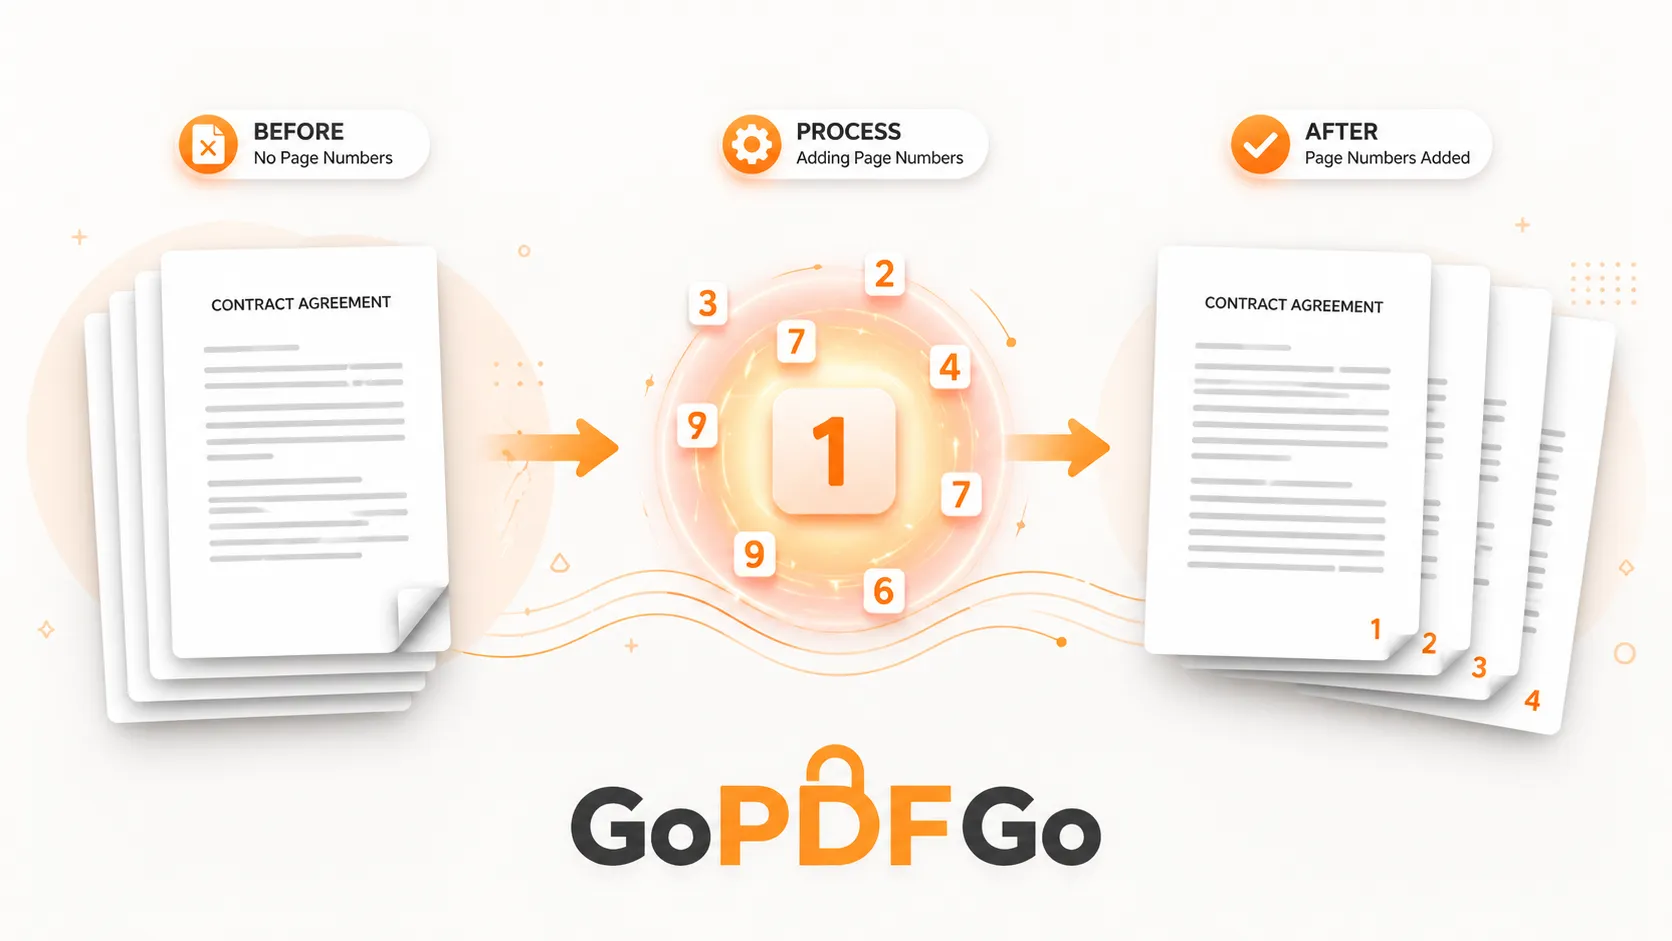
Finally, run the finished file through Page Numbers. Choose Bottom Center, the Page 1 of N format, and start at 1. Numbers are drawn straight onto the page, so they work on photographed receipts just as well as on typed documents. Now the claim form can say "Cab, 14 Sep, page 7" and the person checking it goes straight there. Reviewers approve claims faster when they can find things. That is not a theory; ask anyone who has processed them.
What This Workflow Will Not Do
I would rather you know the edges than discover them mid-claim. The converter does not read the receipts. It will not extract the totals, add them up, or populate a spreadsheet; it makes a document, and the arithmetic is still yours. It does not enhance or straighten a blurry, crooked photo either, so a receipt you cannot read on your phone screen will be just as unreadable on page 9. Reshoot it. And there is no cloud import: the photos need to be on the device you are using, so if they are on your phone and you are working on a laptop, send them across first. If your accounting work is less about phone photos and more about a month of vendor PDFs from suppliers, that is a different job with its own tricks, covered in merging vendor invoices into a single PDF for accounting.
Frequently Asked Questions
Q: My receipt photos are HEIC files from an iPhone. Will they work?
A: Not reliably. Most browsers cannot decode HEIC, so the converter may fail to preview them. Run them through the HEIC to JPG converter on this site first, then add the JPGs. A whole batch converts in one go.
Q: Should I convert to PDF first and compress, or compress each JPG first?
A: Convert first, then compress the PDF once. Compressing twenty JPGs individually is slower, and you lose the chance to judge the whole document at one size. The PDF compressor optimises all the page images together and gives you a single result to check.
Q: Does the PDF preserve the date and time the photo was taken?
A: No. Camera metadata does not carry into the PDF pages. If your finance team wants the transaction date on record, that has to be visible on the receipt itself or written on your claim form. Never rely on file timestamps as proof.
Q: Can I add a receipt I forgot after the PDF is already made?
A: Yes, without redoing everything. Convert the one missing photo into its own single-page PDF, then use Merge PDF to join it to the existing file and drag it into the right position. No need to gather the original photos again.
Q: The finance portal only accepts JPG uploads, not PDF. Now what?
A: Then you do not need this workflow at all for that portal; upload the compressed photos one by one. Keep the combined PDF anyway for your own records and for the email copy to your manager, because a single ordered document is far easier to refer back to in three months when a query comes up.
Q: Is it worth adding a cover page listing all the expenses?
A: For anything over ten receipts, yes. Type a short summary table, save it as a one-page PDF, and merge it to the front. Then add page numbers with the skip first page option on and the starting number set to 1, so the summary stays clean and the first receipt still reads as page 1. Reviewers love a summary they can tick against.
The Short Version
Shoot each receipt cleanly on a dark surface without flash, crop and rotate the stragglers, drop the lot into the converter in claim order, and export one A4 PDF. Compress it once with Best compression so it slides under the email limit, check that the totals are still sharp, add page numbers, and give the file a name a human will recognise. Do that and your claim is the easy one in the pile.
Your receipts, your company's spending, your device. Nothing gets uploaded. Go ahead and convert your receipt photos into one PDF before the next flight boards.